-
Notifications
You must be signed in to change notification settings - Fork 0
v0.4.0 Lab 9 Interoperability
In this lab you will explore how CARML is able to operate with both ARM JSON Templates & Bicep as well as with both Azure DevOps Pipelines & GitHub Workflows to meet different customer scenarios.
There may be reasons why a customer may not want to use Bicep or GitHub workflows just yet:
- Bicep is still a relatively new DSL and not yet version 1.0.0
- GitHub workflows are likewise relatively new compared to Azure DevOps pipelines and not yet on par with it
Fortunately, CARML supports both GitHub & Azure DevOps and either pipeline is compatible with both ARM JSON as well as Bicep.
- Step 1 - Create a new branch
- Step 2 - Convert to ARM
- Step 3 - (Optional) Leverage Azure DevOps Pipelines
First, navigate back to your local CARML fork.
To not interfere with your current setup, you should make sure to perform this lab in a dedicated branch.
You can achieve this in two ways:
Alternative 1: Via VSCode's terminal
-
If a Terminal is not in sight, you can alternatively open it by expanding the
Terminal-dropdown on the top, and selectingNew Terminal -
Now, execute the following PowerShell commands:
git checkout -b 'interoperability'
git push --set-upstream 'origin' 'interoperability'
Alternative 2: Via VSCode's UI
-
Select the current branch on the bottom left of VSCode
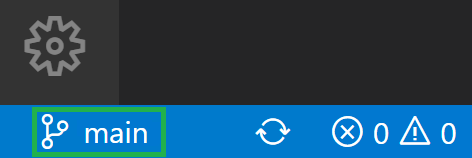
-
Select
+ Create new branchin the opening dropdown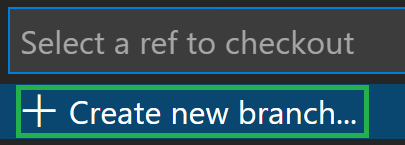
-
Enter the new branch name
interoperability -
Push the new branch to your GitHub fork by selecting
Publish Branchto the left in the 'Source Control' tab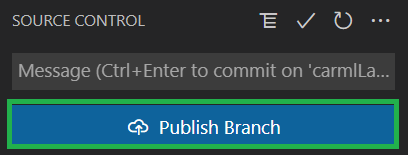
In this step, you will use one of CARML's utilities to convert the repository from Bicep-based to ARM-based. This includes the conversion of the templates themselves, the update of the pipelines that use them, as well as the cleanup of both metadata & redundant Bicep-specific folders.
-
Navigate to the
utilities/toolsfolder. You will find a PowerShell file titledConvertTo-ARMTemplate.ps1. The script allows you to do the following:- Remove existing deploy.json files
- Take the modules written in Bicep within your CARML library and convert them to ARM JSON syntax (Excludes child-modules by default).
- Remove Bicep metadata from the new JSON files
- Remove Bicep files and folders
- Update existing GitHub workflow as well as ADO pipeline YAML files to replace
.bicepwith.jsonso that deployments now use the newly created.jsonfiles
-
First you need to load the script. There are different ways to do this, but for our purposes, right-click on the
ConvertTo-ARMTemplate.ps1file, and selectCopy Path.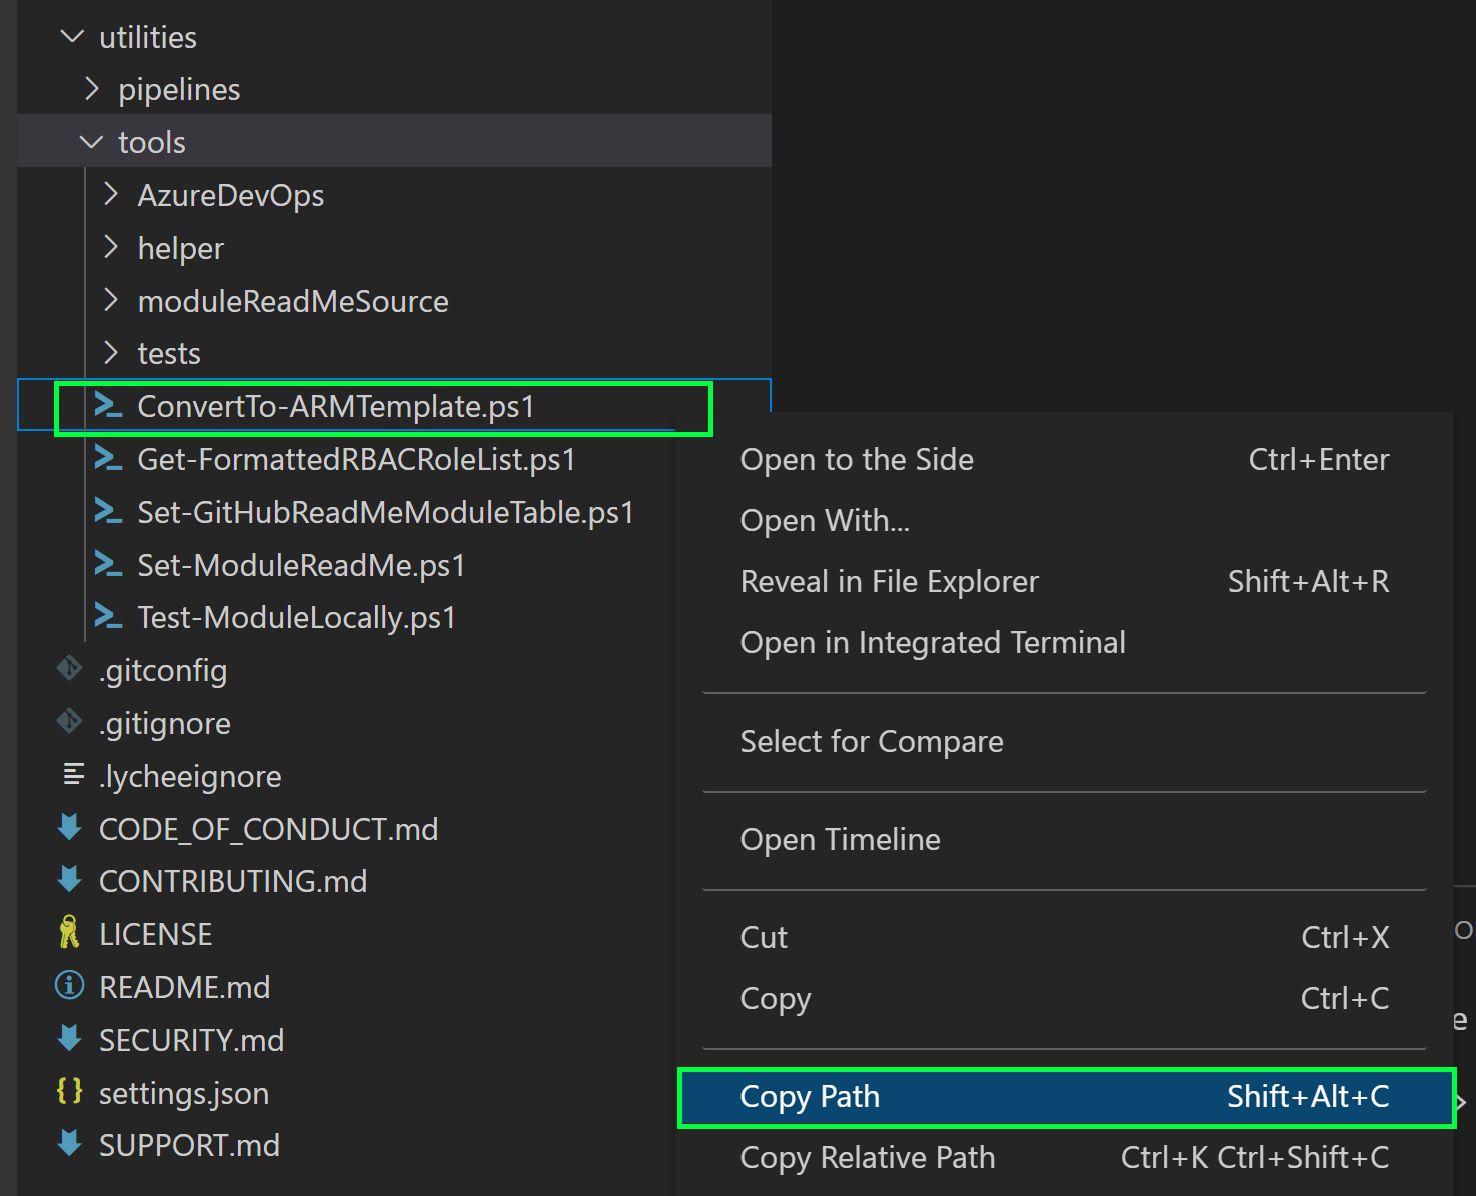
-
Open an existing or new PowerShell terminal session and execute the following snippet:
. '<path of script>' -ConvertChildren

# For example
. 'C:/dev/Carml-lab/ResourceModules/utilities/ConvertTo-ARMTemplate.ps1' -ConvertChildren
Upon hitting enter the script will start running. You will notice several Bicep 'Warnings' as part of the output. This is normal and the script will continue.
-
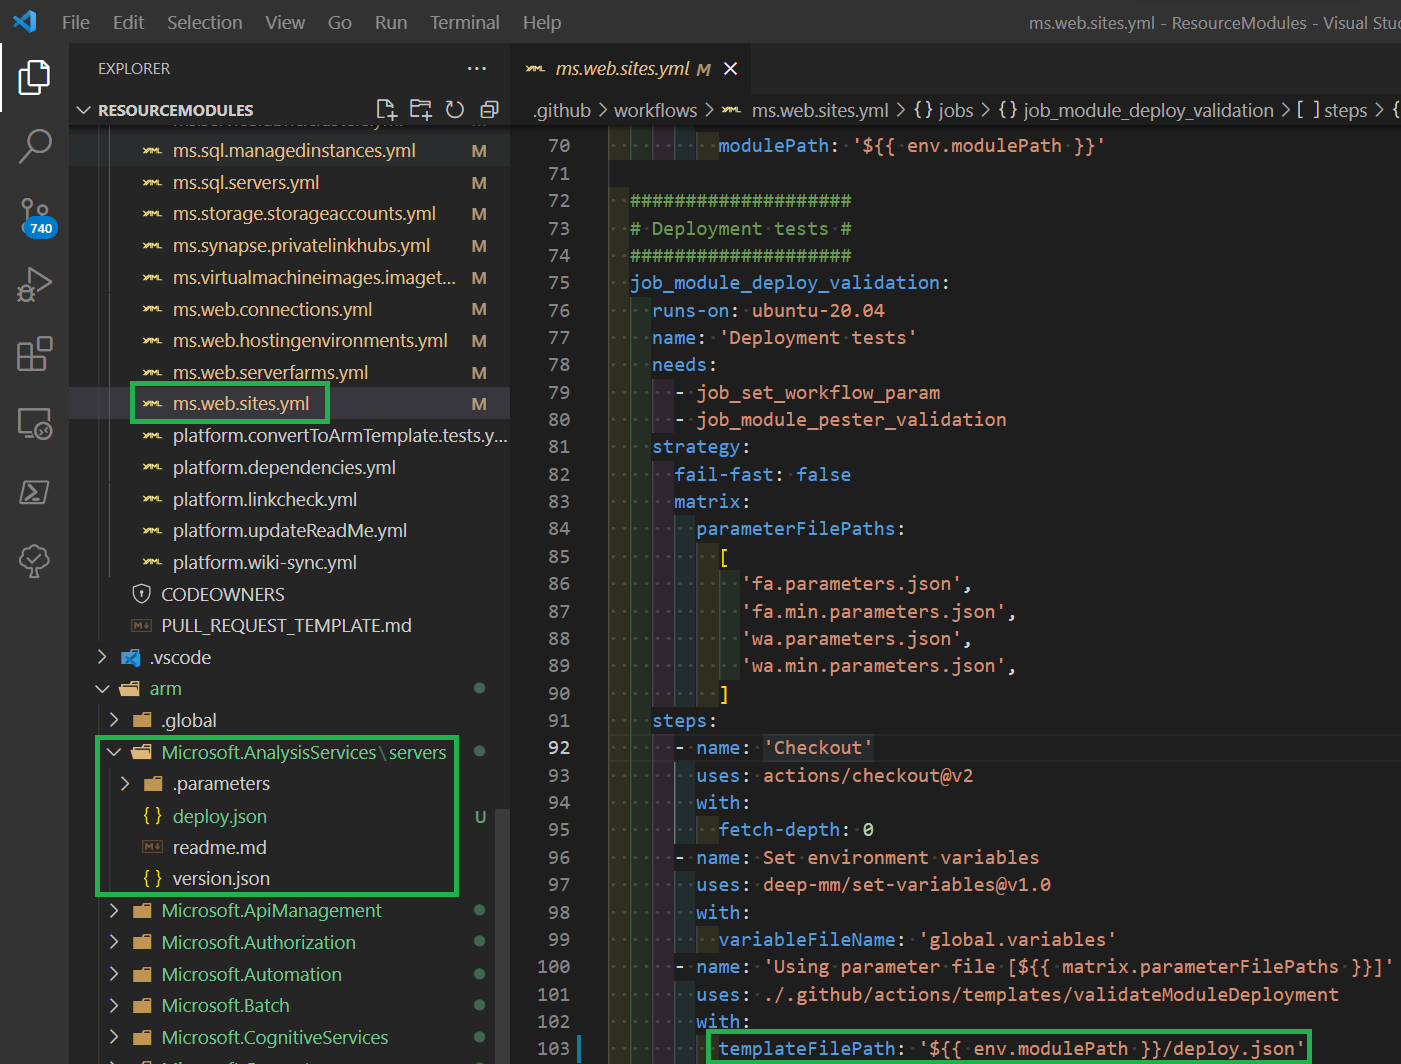
By default, the script will take all the modules found under the
armfolder that contain a.bicepfile, begin converting from Bicep to JSON, and conduct all the optional functions highlighted before. -
Once finished, you will see that your Bicep files have now all been converted to ARM Templates. These ARM Templates will work with your existing parameter files and workflows!
Similar to Bicep's adoption, not all customers may be using GitHub repos and/or GitHub Actions. CARML can be hosted in a GitHub repo and deployed using Azure DevOps Pipelines or run entirely from Azure DevOps. The following demonstrates how CARML can enable users to perform Infrastructure-as-Code deployments using Azure DevOps Pipelines:
-
Before starting, make sure that you have the following installed:
- Azure CLI
- Azure CLI Extension: Azure DevOps
- An Azure DevOps Project
-
Go to the Azure DevOps Portal and log in.
-
To create a new DevOps project, choose the organization that you wish to create the project under. Then select
+ New Projecton the top right corner of the page. -
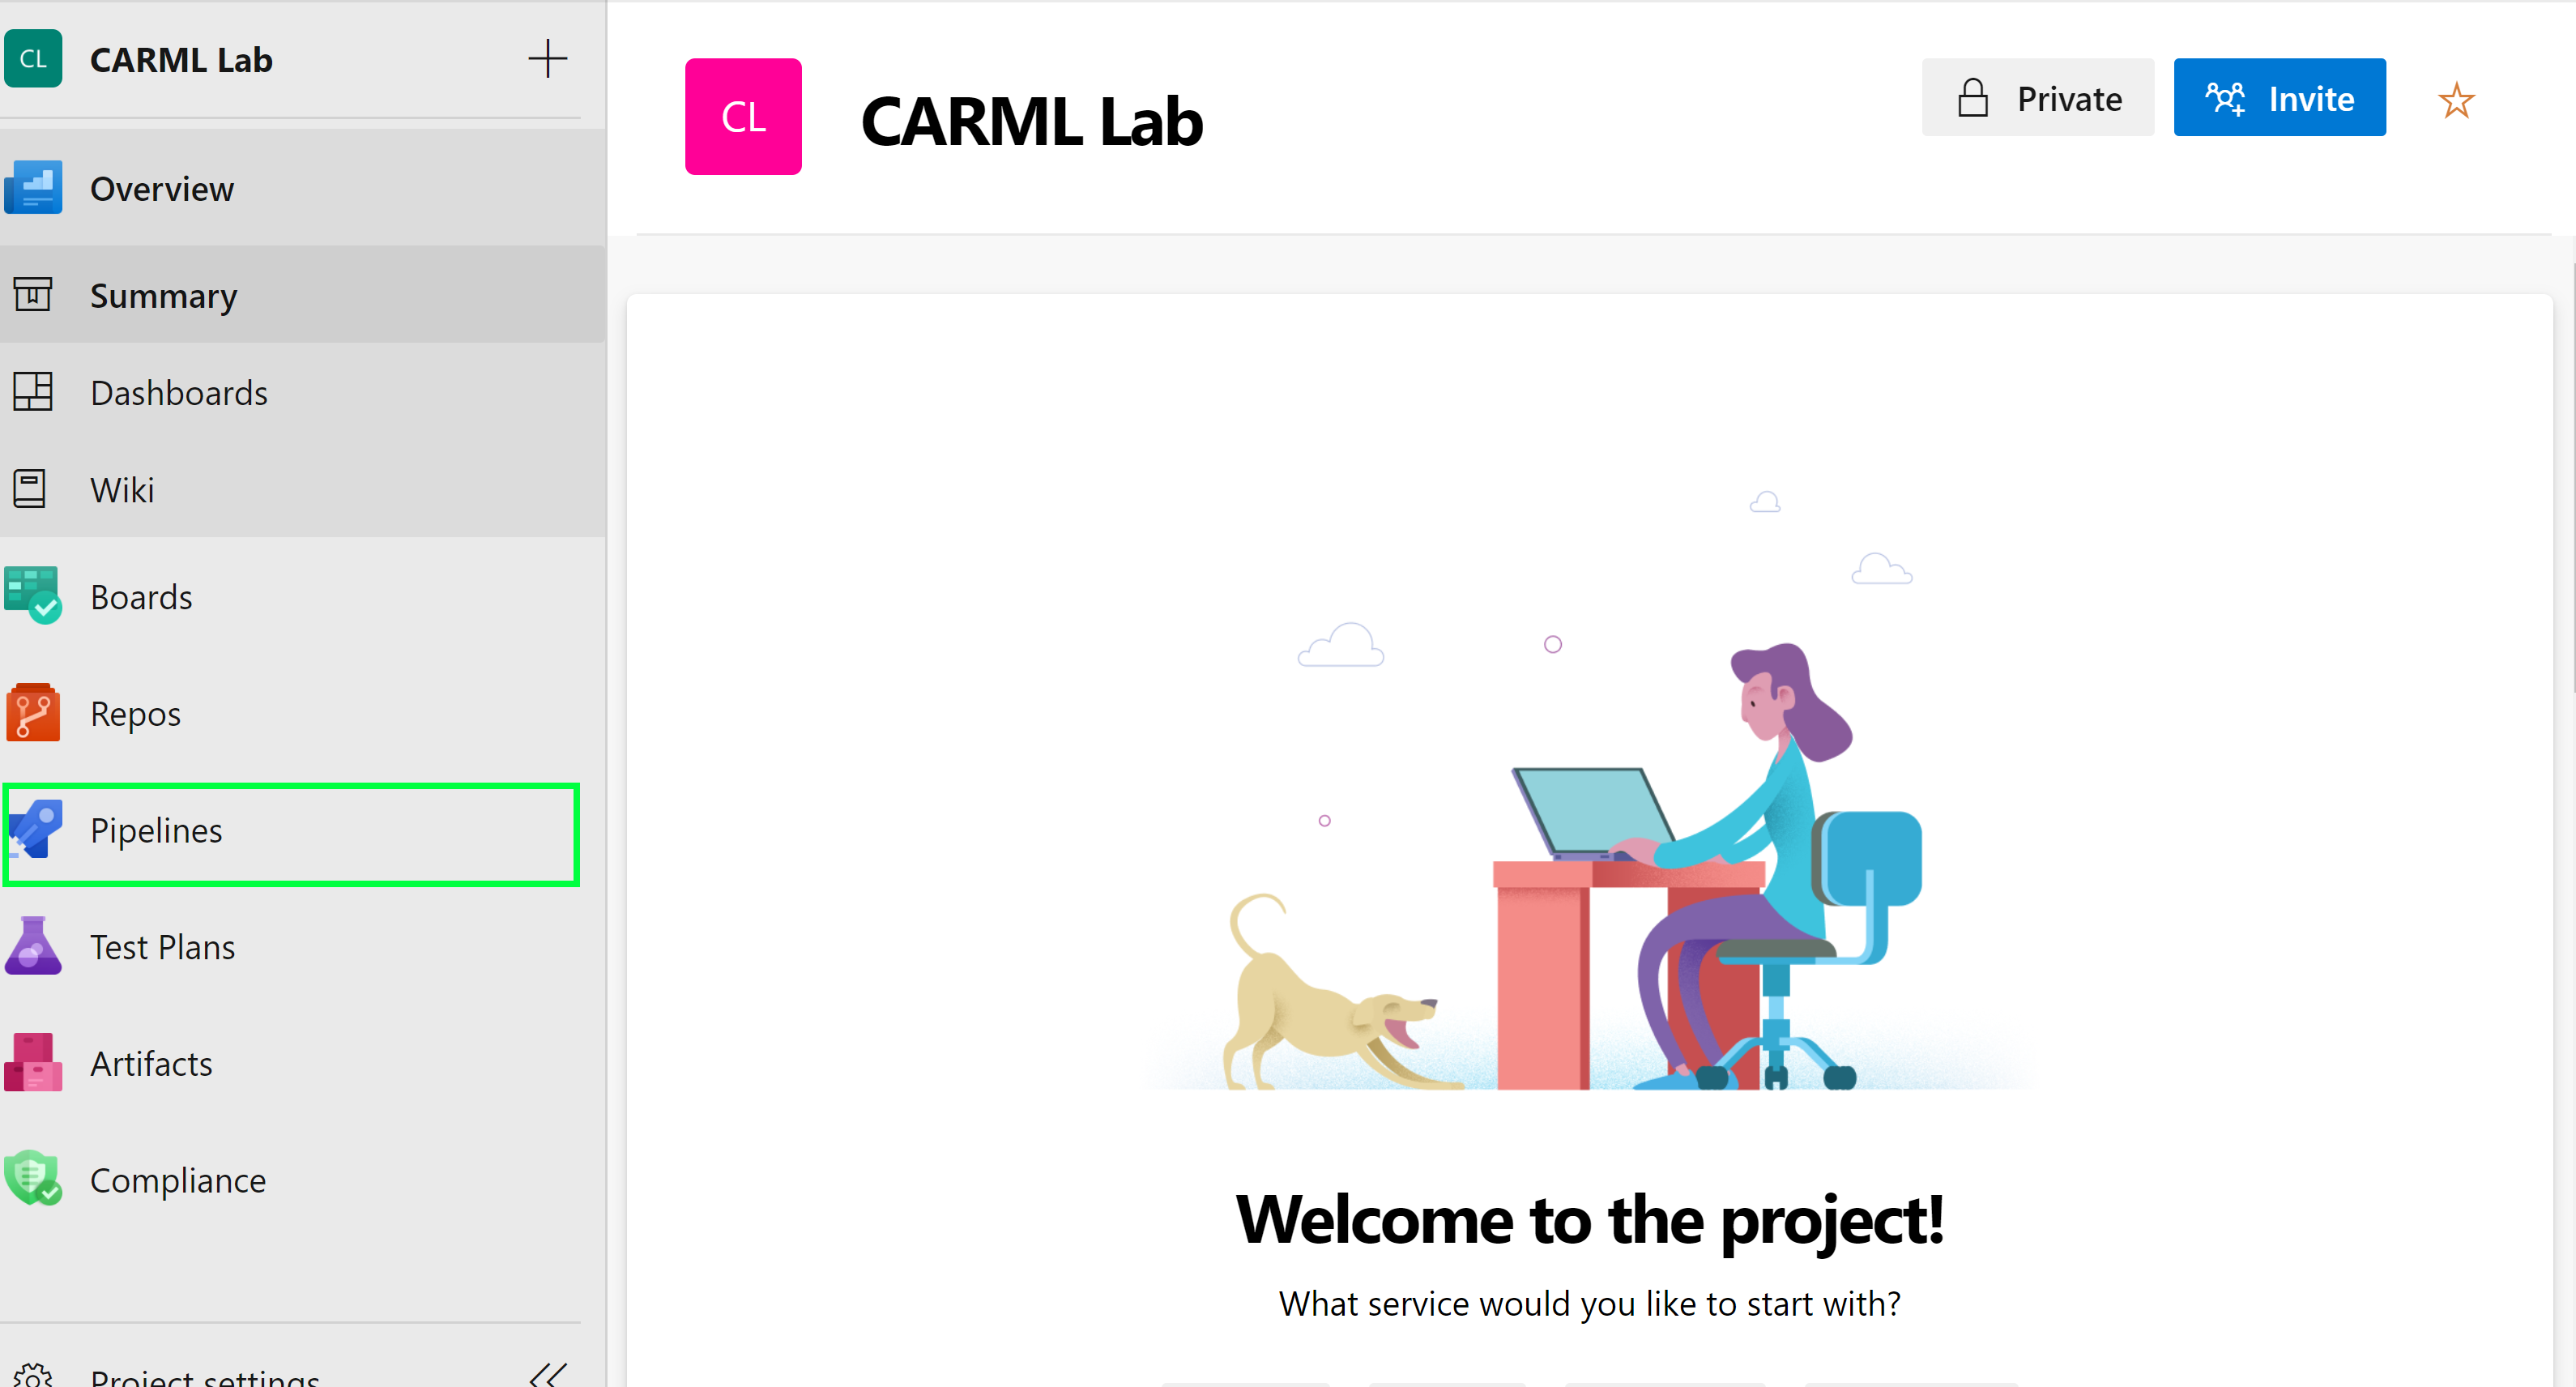
Go to your Azure DevOps project and select Pipelines on the left-hand side
-
Next, click the more actions
:icon and selectManage Security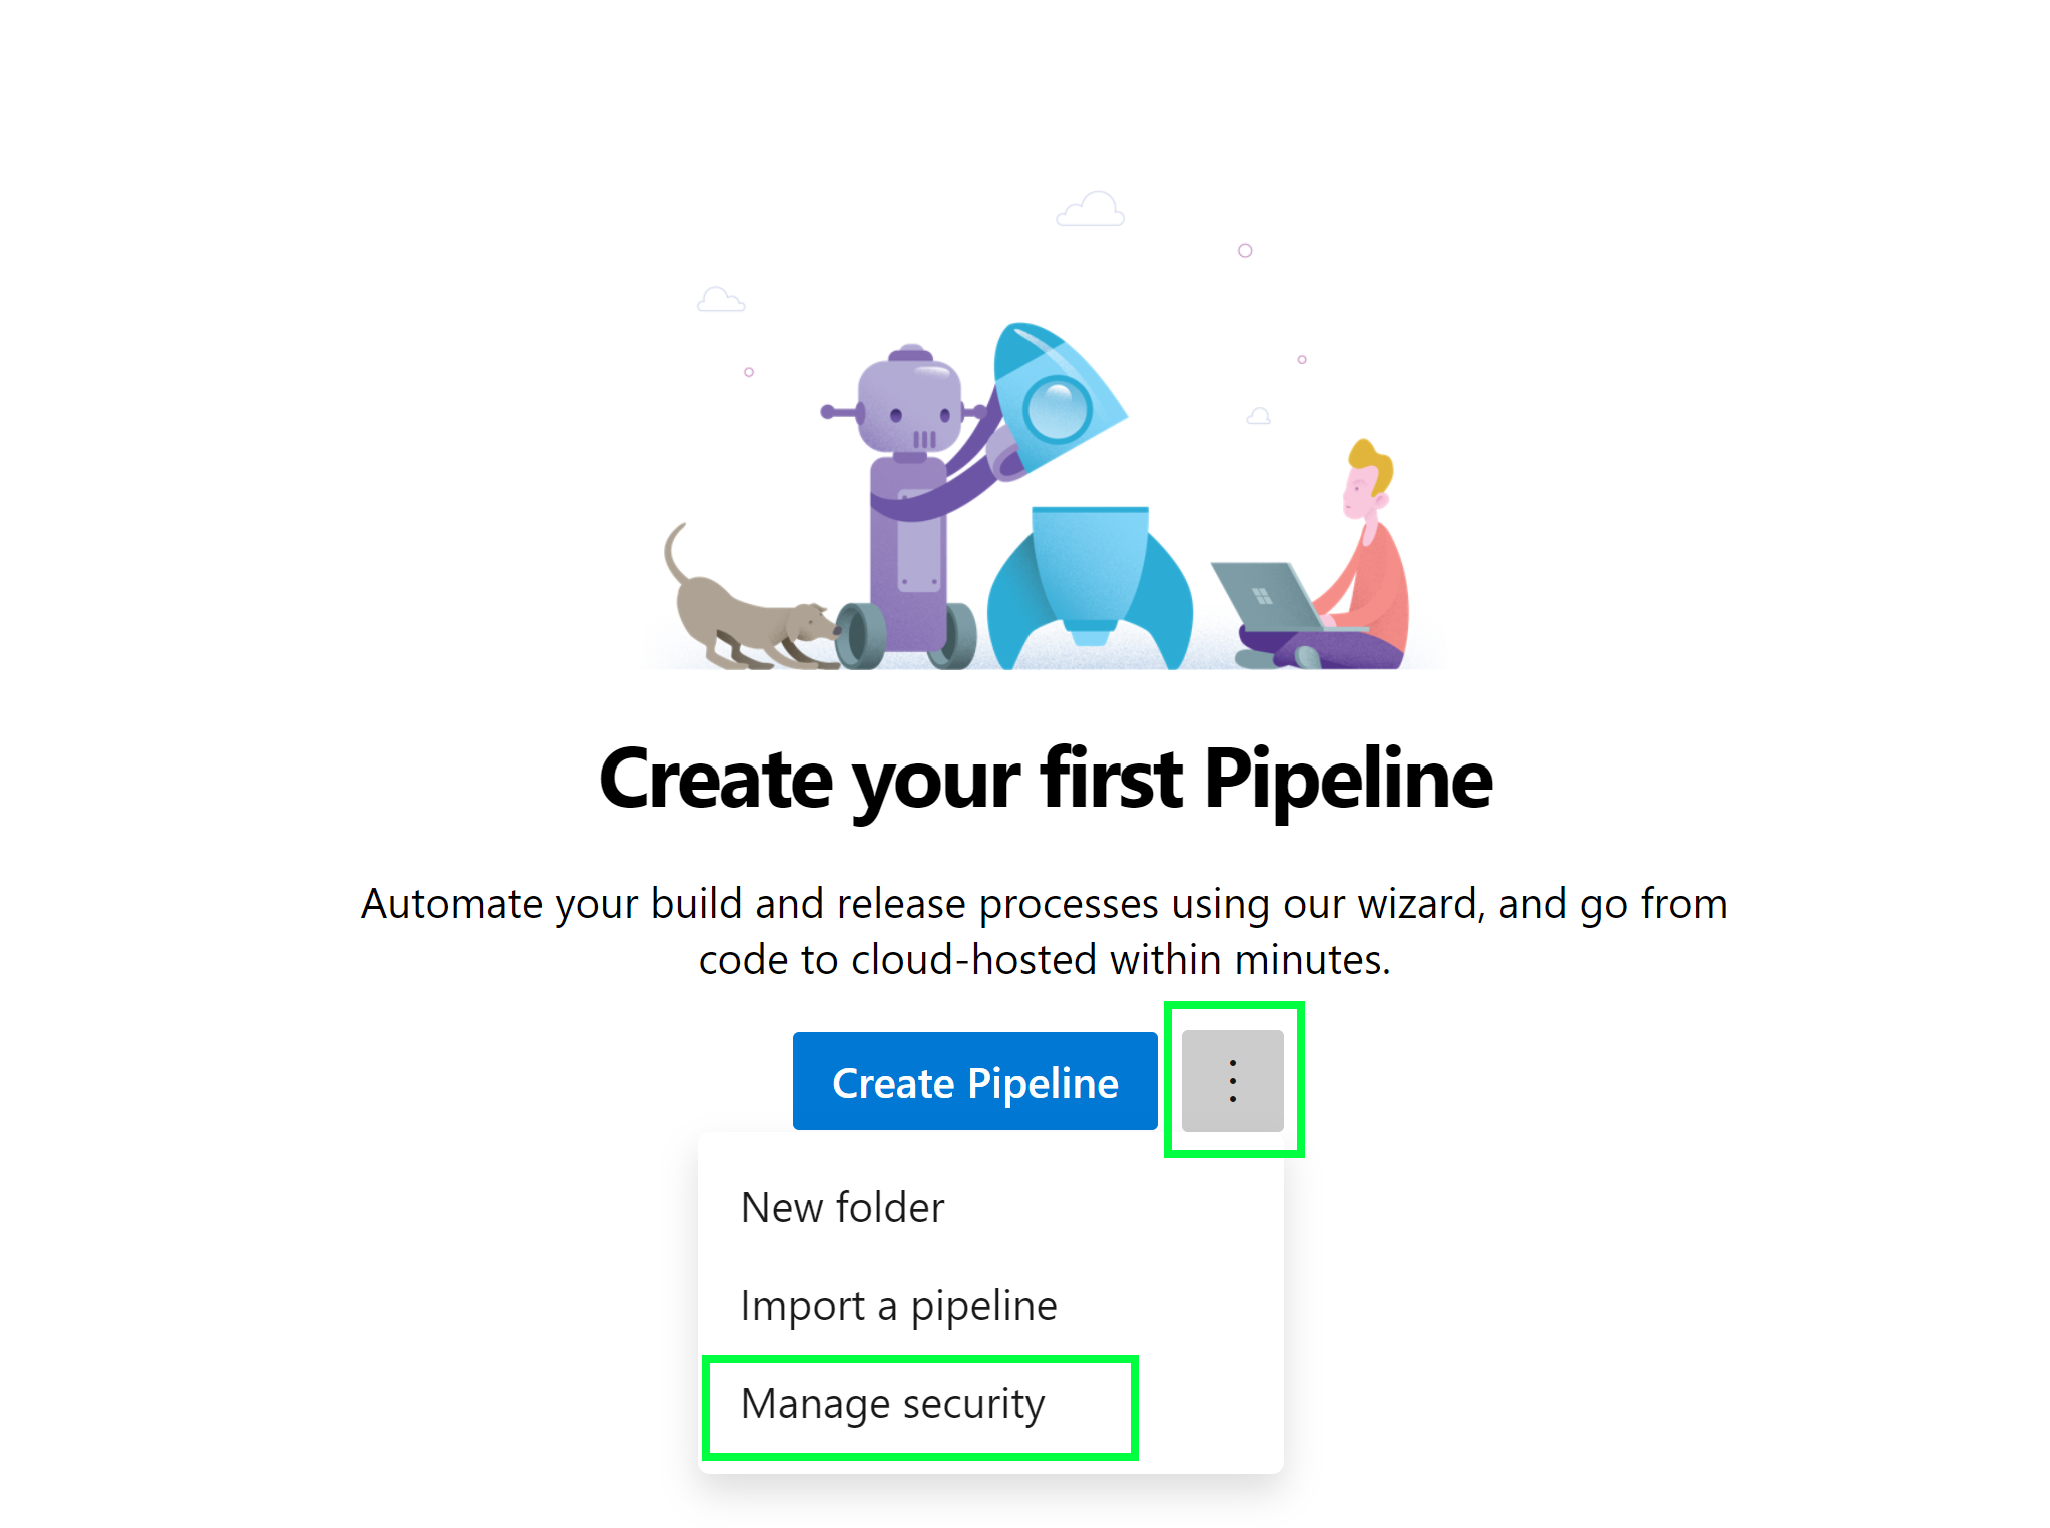
-
The pipeline permissions for the project will appear. Scroll to the bottom and find the
<ProjectName>Build Service underUsers. Select the Build Service. Locate theEdit build pipelinesetting and change it fromNot SettoAllow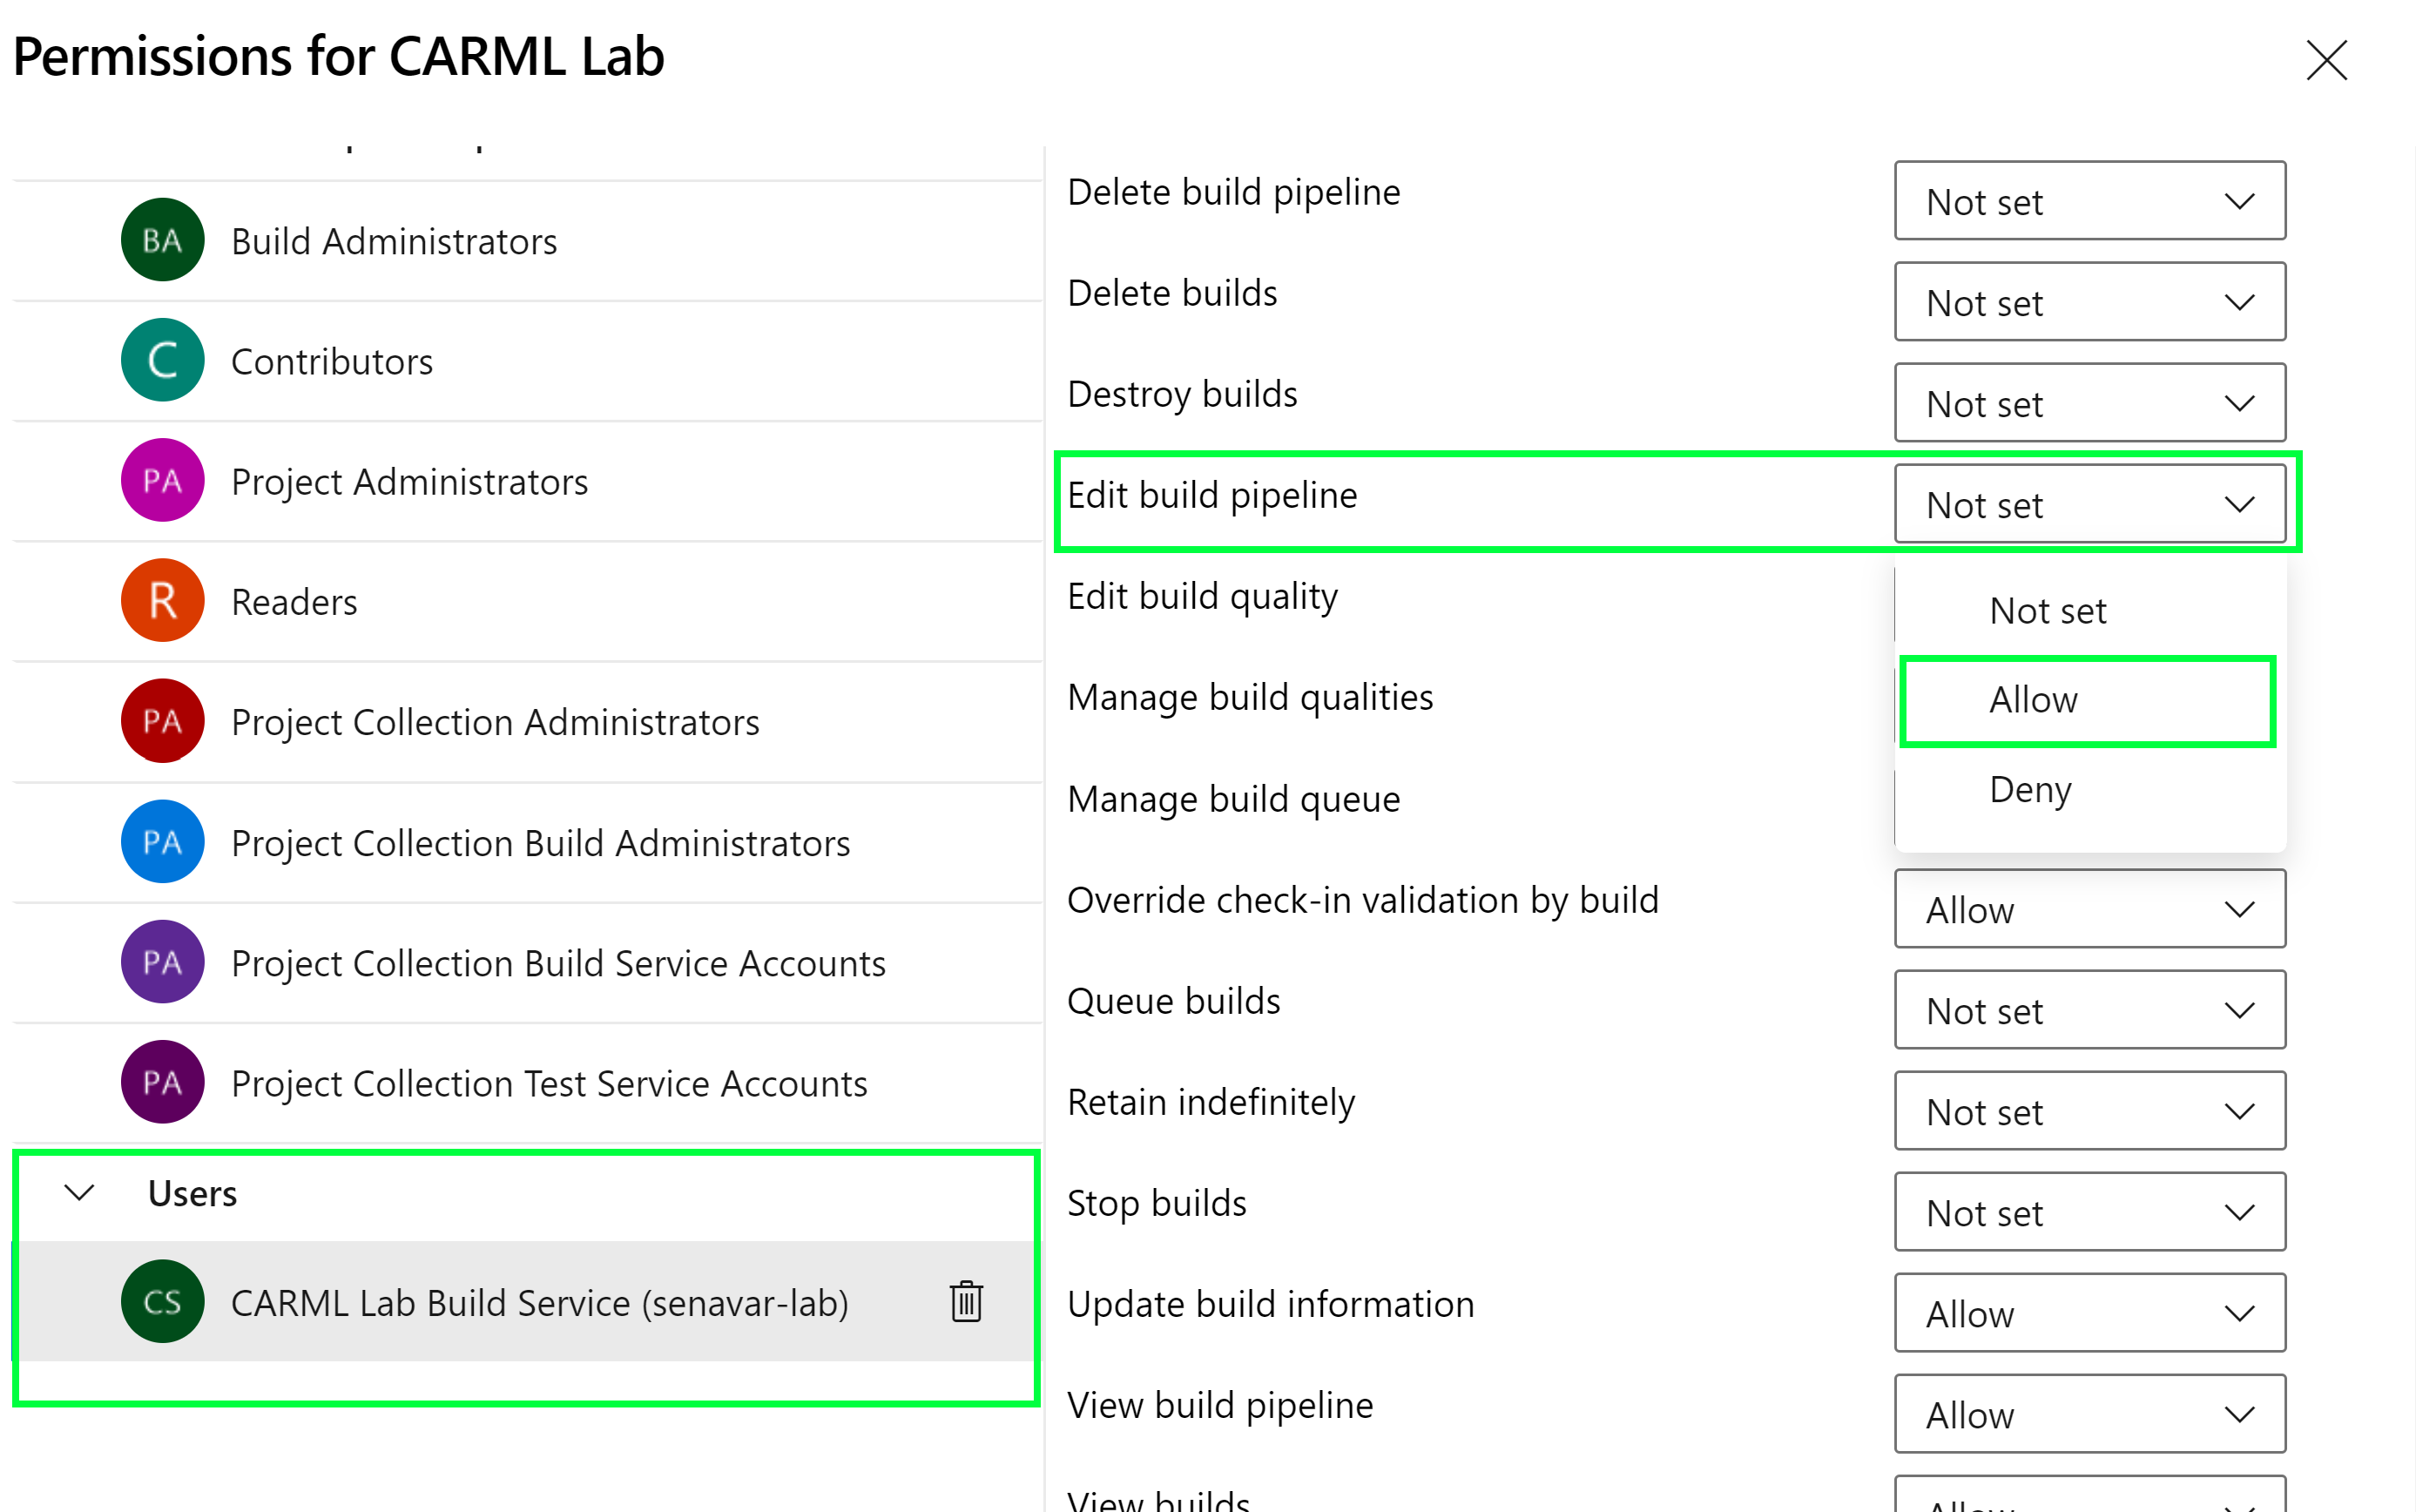
The changes will automatically be saved/updated and you can close the permissions panel once done.
-
The next step(s) should only be done when the repo is in GitHub. We will be establishing a service connection between Azure DevOps and GitHub:
-
Next, click on
Project Settingson the bottom-left corner of the page. Scroll towards the bottom of theProject Settingspanel, locate theService Connectionstab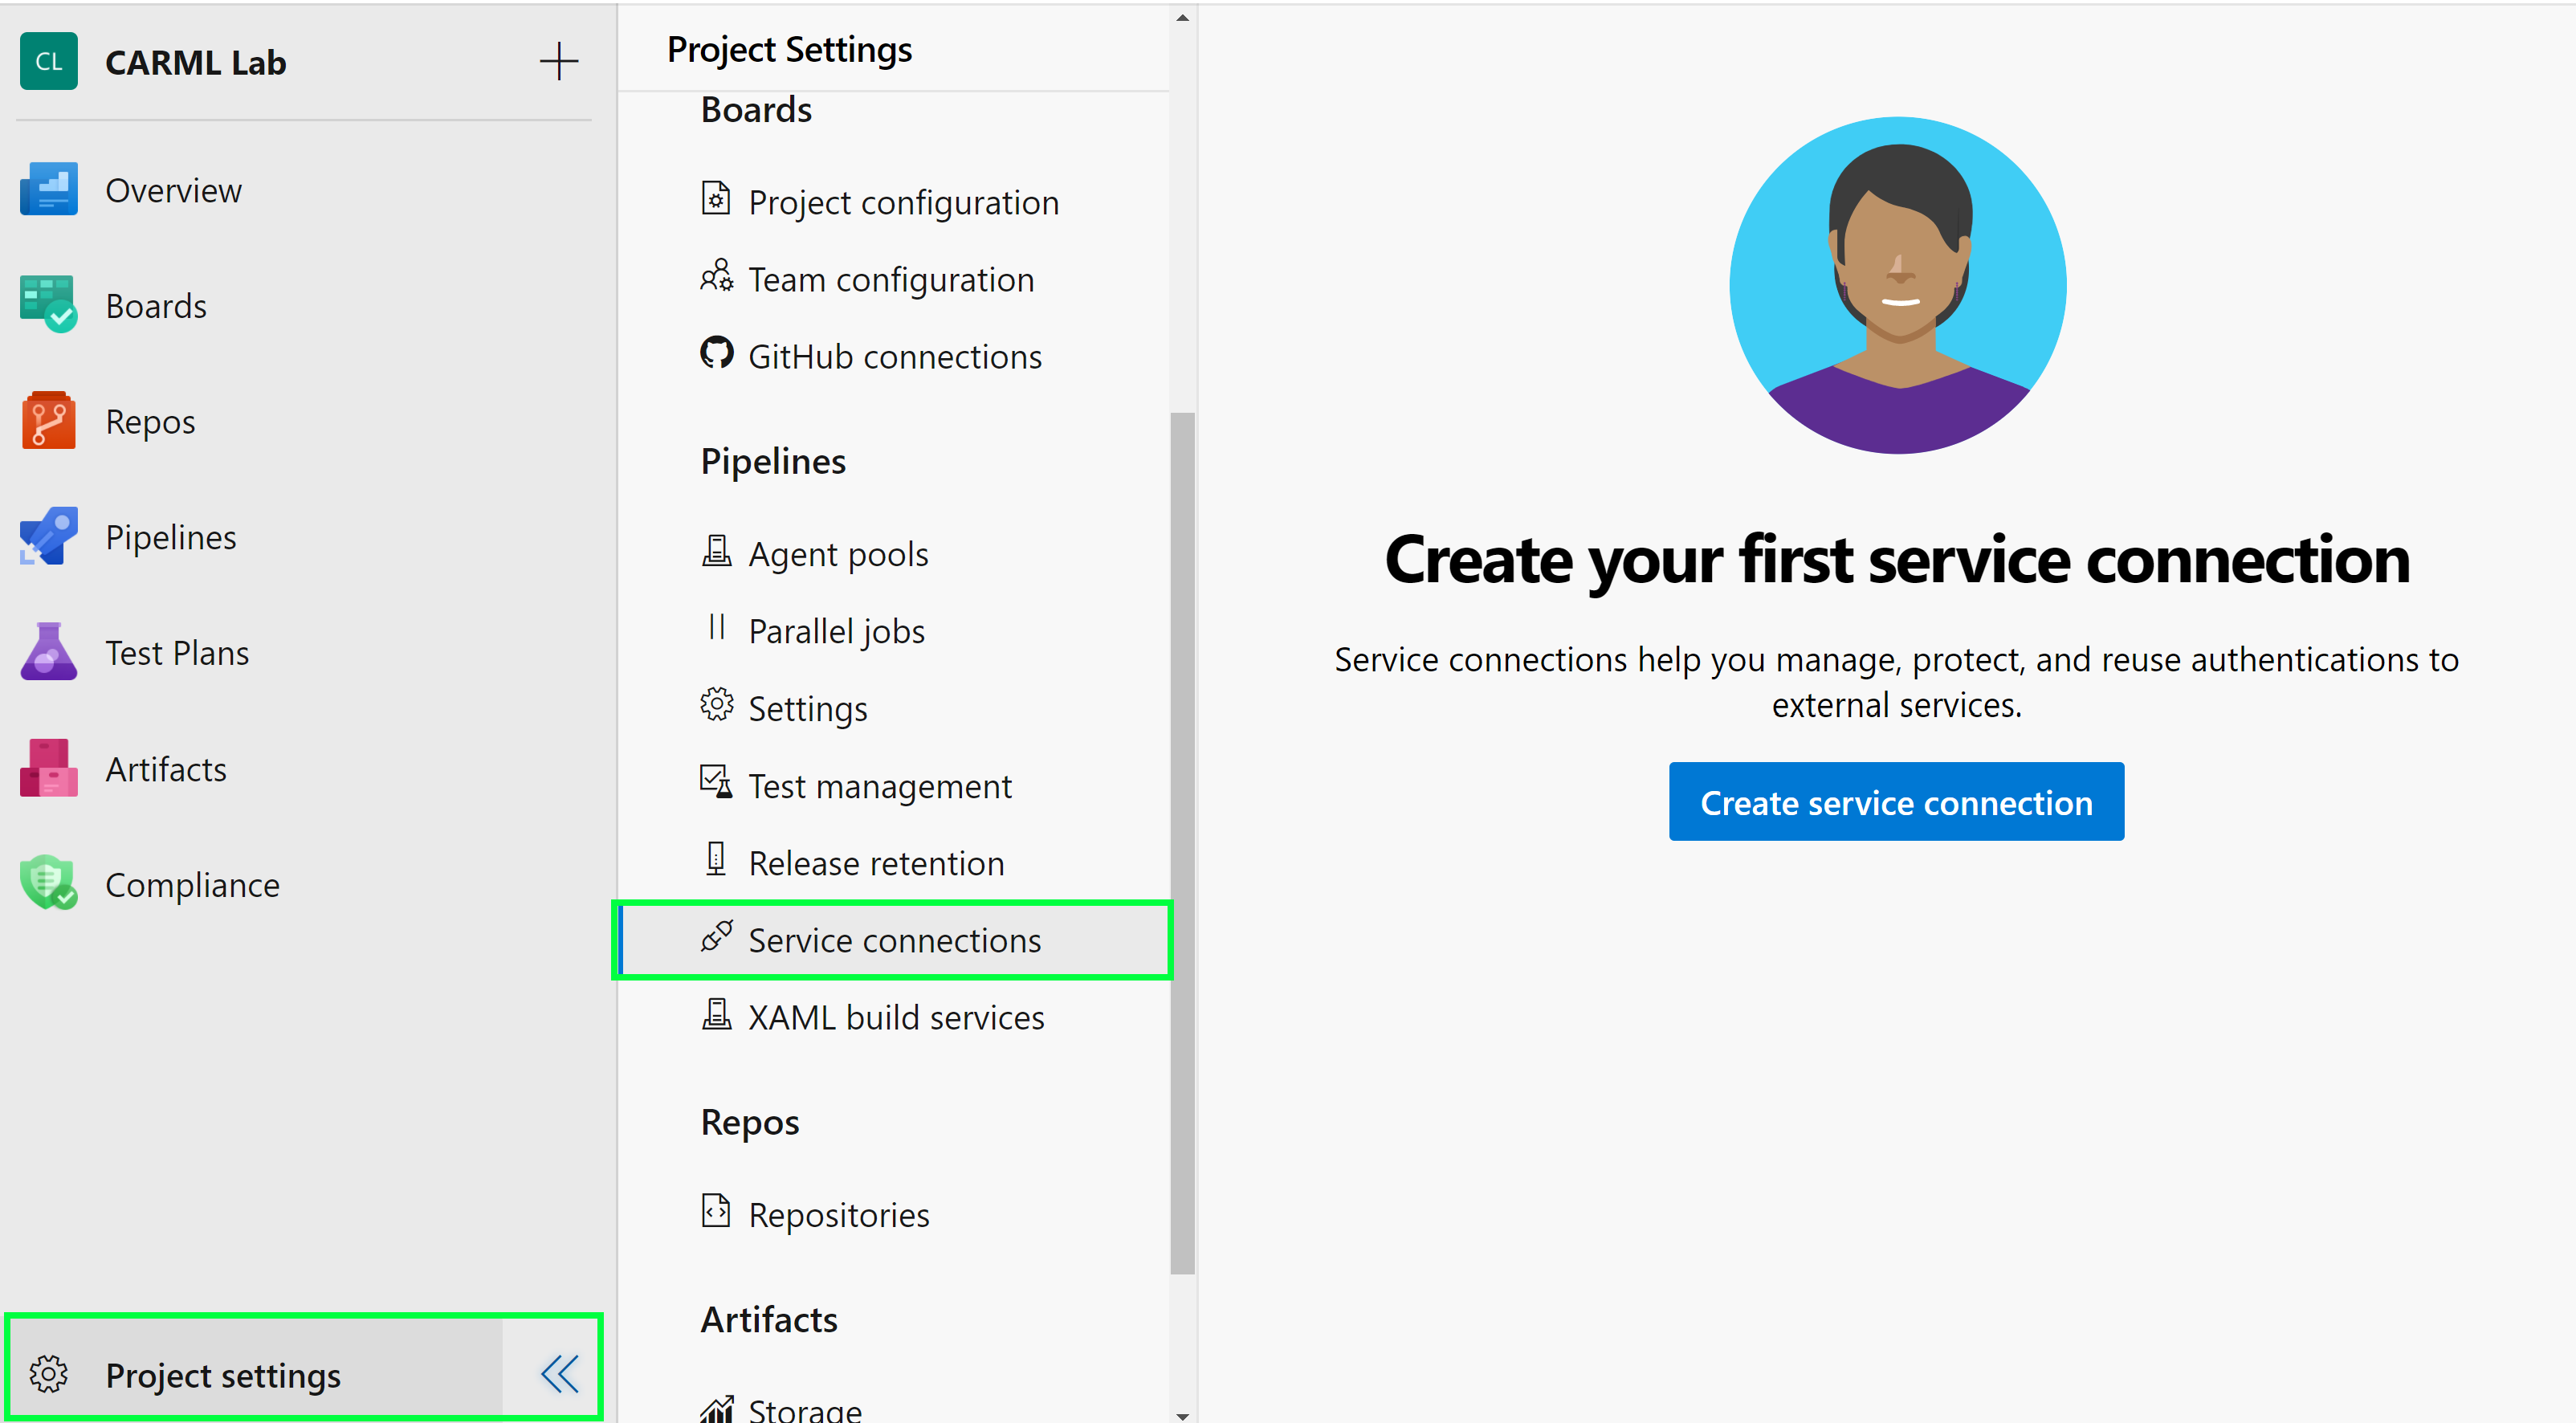
-
Click
Create New Service Connection -
Scroll, find, and select
GitHuband click next.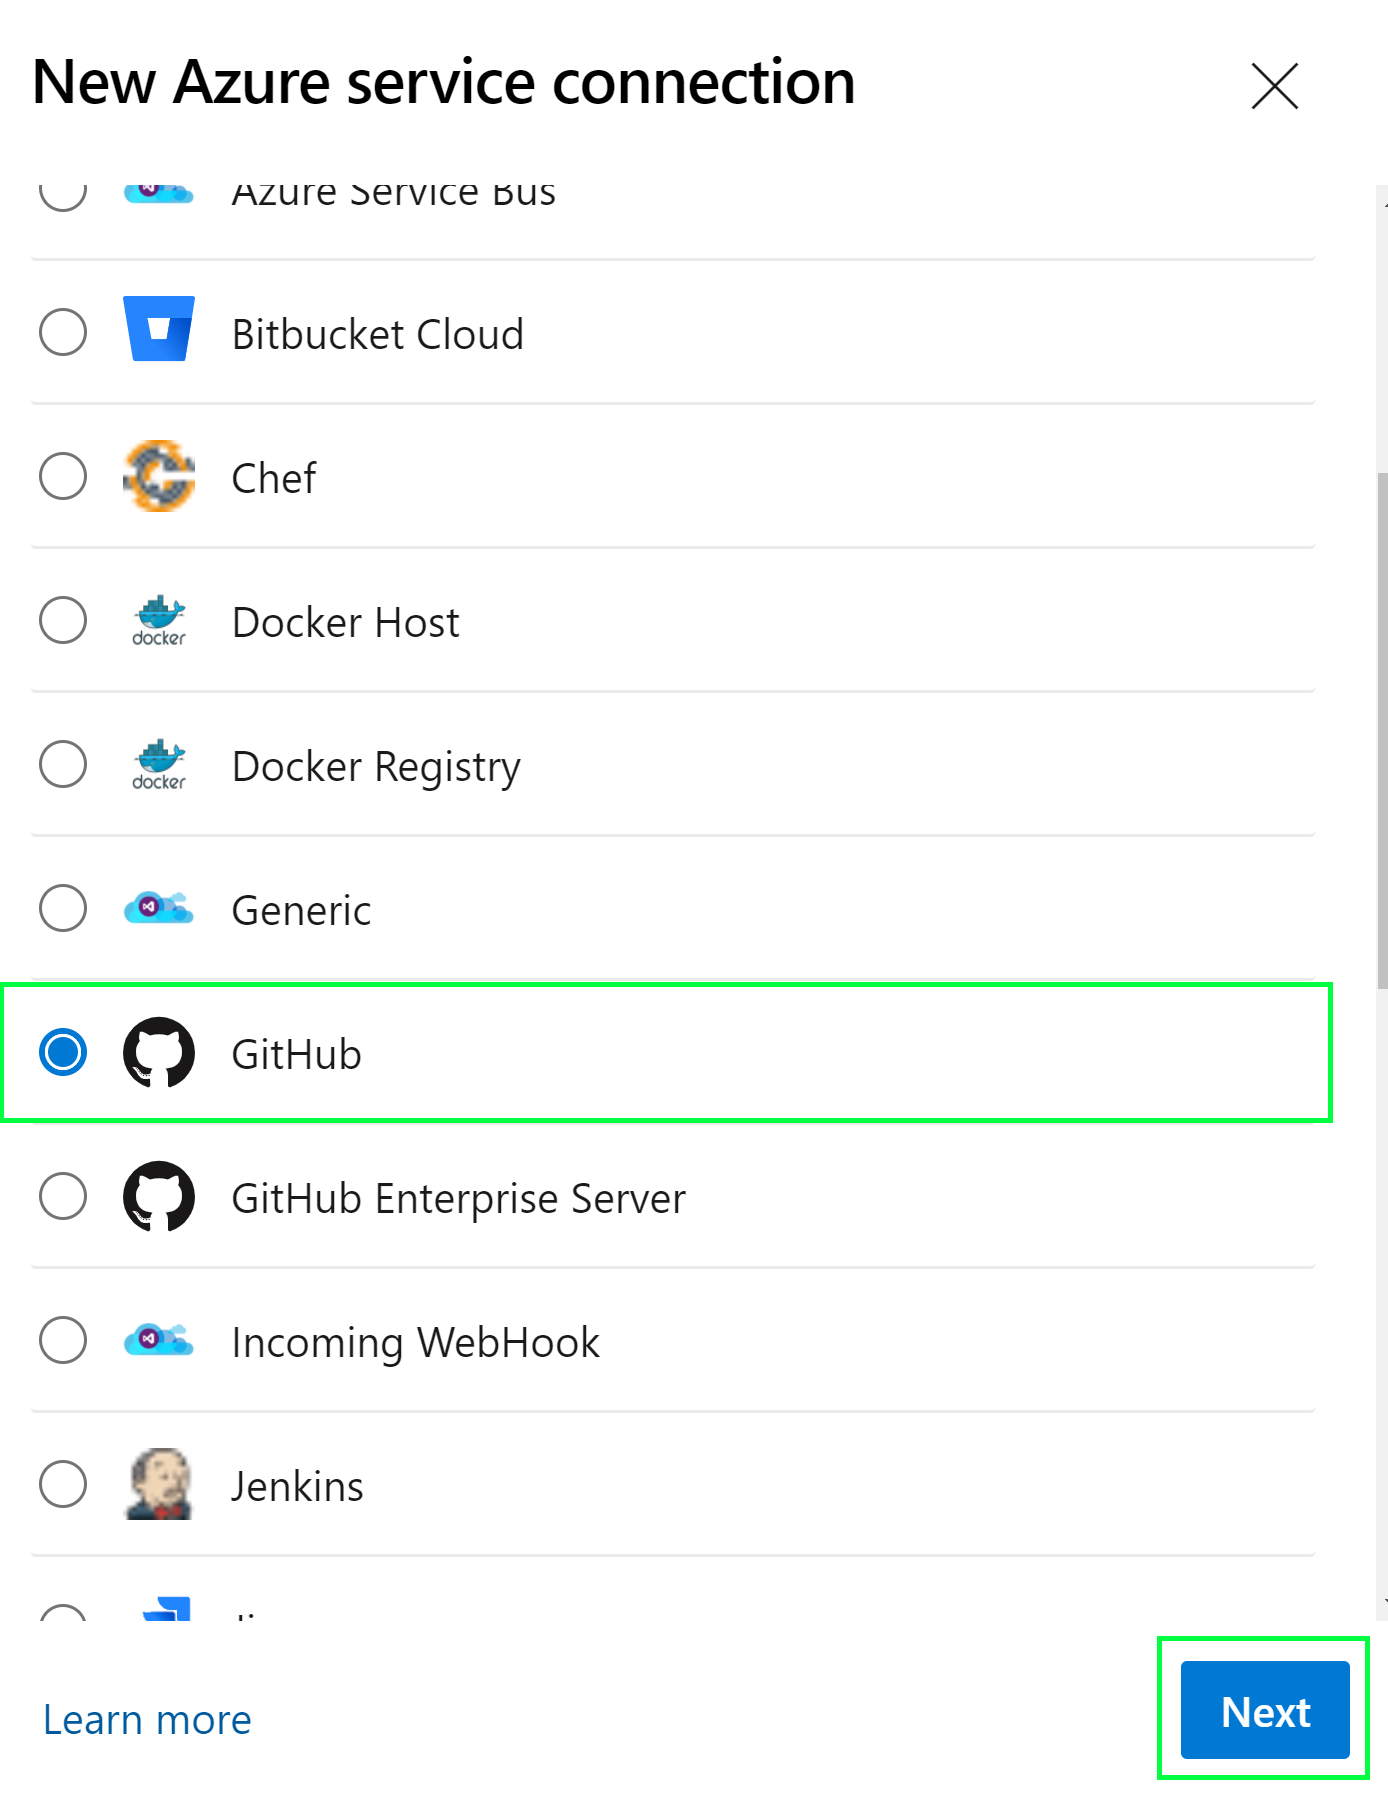
Note if an organization is using GitHub Enterprise to host their repository, GitHub Enterprise must be selected instead.
-
Make sure
Grant Authorizationis selected underAuthentication Method. Then open the drop-down underOAuth Configurationand selectAzurePipelines. -
Click
Authorize. -
A new window will appear taking you to GitHub. If you are already logged into GitHub, it will automatically authenticate and authorize the service connection. If not, it will prompt you. Follow the steps and once finished you should see the user as part of the service connection:

-
The name of the service connection will be automatically populated. For simplicity of this lab, rename the service connection to
GitHubConnection. You will need this name later. Click save once finished. -
You will be returned to the Service Connection settings page and should see your GitHub connection.
-
-
We will now need a Service Connection between Azure DevOps and our Azure Subscription. Click on
New Service Connectionat the top right corner:- Scroll, find, and select
AzureResourceManagerand click next. - For this lab we will be using
Service Principal (manual)which allows you to re-use the same service principal you used for GitHub. - Fill in all the required data.
- Name your Service Connection
AzureConnection. You will need this later. ClickVerify and saveon the bottom right. corner.
- Scroll, find, and select
-
You should now have two (2) Service Connections under your DevOps project, the
GitHubConnectionand theAzureConnection. -
Return to your Visual Studio Code window. Make sure you are still located on your fork of CARML and in your
interoperabilitybranch. -
Navigate to the
.azuredevops/pipelineVariablesfolder. You will find a YAML file titledglobal.variables.yml. Open the file and update theserviceConnectiontoAzureConnectionand save the file. This variable is passed to the pipeline jobs, which in turn automatically use the previously created service connection. -
Navigate to the
tools/AzureDevOpsfolder. You will find a PowerShell file titledRegister-AzureDevOpsPipeline.ps1. -
Right-click on the
Register-AzureDevOpsPipeline.ps1file, and selectCopy Path -
Open an existing or new PowerShell terminal session and execute the following snippet:
. 'Register-AzureDevOpsPipeline.ps1'

# For example
. 'C:/dev/Carml-lab/ResourceModules/utilities/Register-AzureDevOpsPipeline.ps1'
Upon hitting enter the script will load the function(s) specified in the file into your Powershell session.
-
Update and copy the following code block:
    $inputObject = @{
        OrganizationName                 = '<Name of your DevOps Organization>'
        ProjectName                      = '<Name of your DevOps Project>'
        SourceRepository                 = '<Forked Github Repo Name>'
        Branch                           = '<Name of source branch>'
        GitHubServiceConnectionName      = 'GitHubConnection'
        AzureDevOpsPAT                   = '<Placeholder>'
    }
    Register-AzureDevOpsPipeline @inputObject
-
Paste the code block into the PowerShell terminal and hit enter
-
Once executed, the script will run and create Azure DevOps pipelines based on the YAML files you have in the
.azuredevops/modulePipelinesfolder. Once finished you will be able to go to the Azure DevOps portal and see pipelines that were created as part of this process. -
This script is re-deployable, as all existing pipeline will not be affected. You can use this process to automatically create new pipelines for new modules/workloads!
This wiki is being actively developed