-
Notifications
You must be signed in to change notification settings - Fork 0
v0.4.0 Lab 6 Publishing
In this lab, you will learn how to publish modules, both for releases and prereleases. You will also publish your first modules to the Bicep Registry.
- Step 1 - Publish prerelease for a module
- Step 2 - Run the workflow in GitHub
- Step 3 - Verify the published module
- Step 4 - Prepare to publish a release
- Step 5 - Prepare the next lab
-
In your local VSCode, find the file
arm\Microsoft.Network\routeTables\version.jsonand update the version property to be0.1.
-
Next, upload your changes in any of the following 2 ways:
Alternative 1: Via VSCode's terminal
-
If a Terminal is not in sight, you can alternatively open it by expanding the
Terminal-dropdown on the top, and selectingNew Terminal -
Now, execute the following PowerShell commands:
git add .
git commit -m 'Updated route table version to 0.1'
git push
Alternative 2: Via VSCode's UI
-
Add your changes: If not already there, navigate to the source control menu to the left and add the changed files to the commit. To do so, select the
+icon next toChanges(appears when hovering)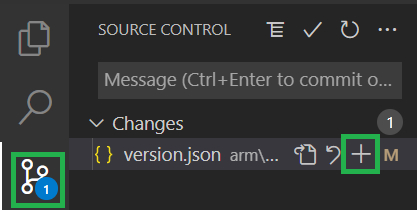
-
Commit your changes: Next, you should give the commit a meaningful message such as 'Updated route table version to 0.1' and can then click the checkmark symbol on the top to create the commit
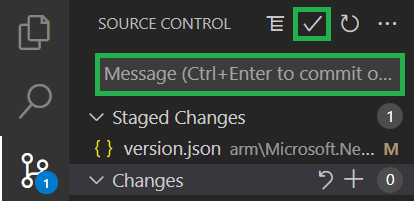
-
Push your changes: Finally, you can push the changes to the repository by selecting the blue
Publish Branchbutton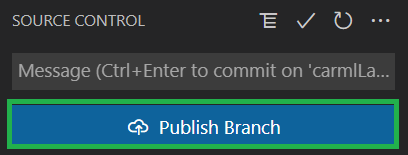
-
-
Find the workflow for
Network: RouteTablesin theActionstab in GitHub. -
Click on the "Run workflow" button, select branch
dev/routeTableand check the box forPublish prerelease.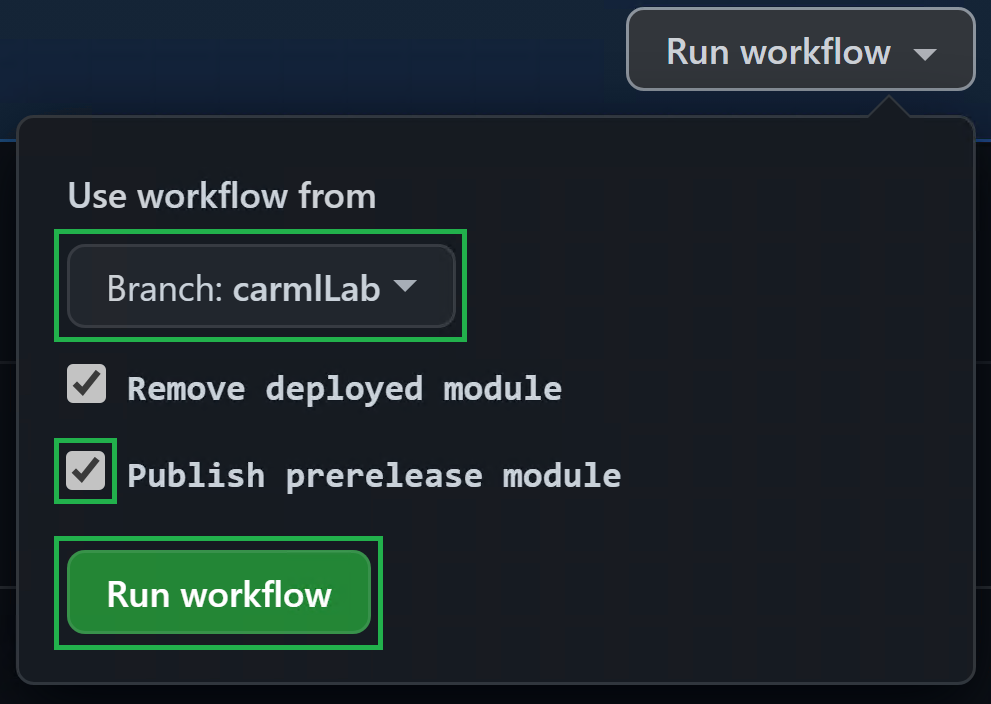
-
Wait for the workflow to run, verify that the workflow has published a prerelease version (
0.1.x-prerelease) to the Bicep registry.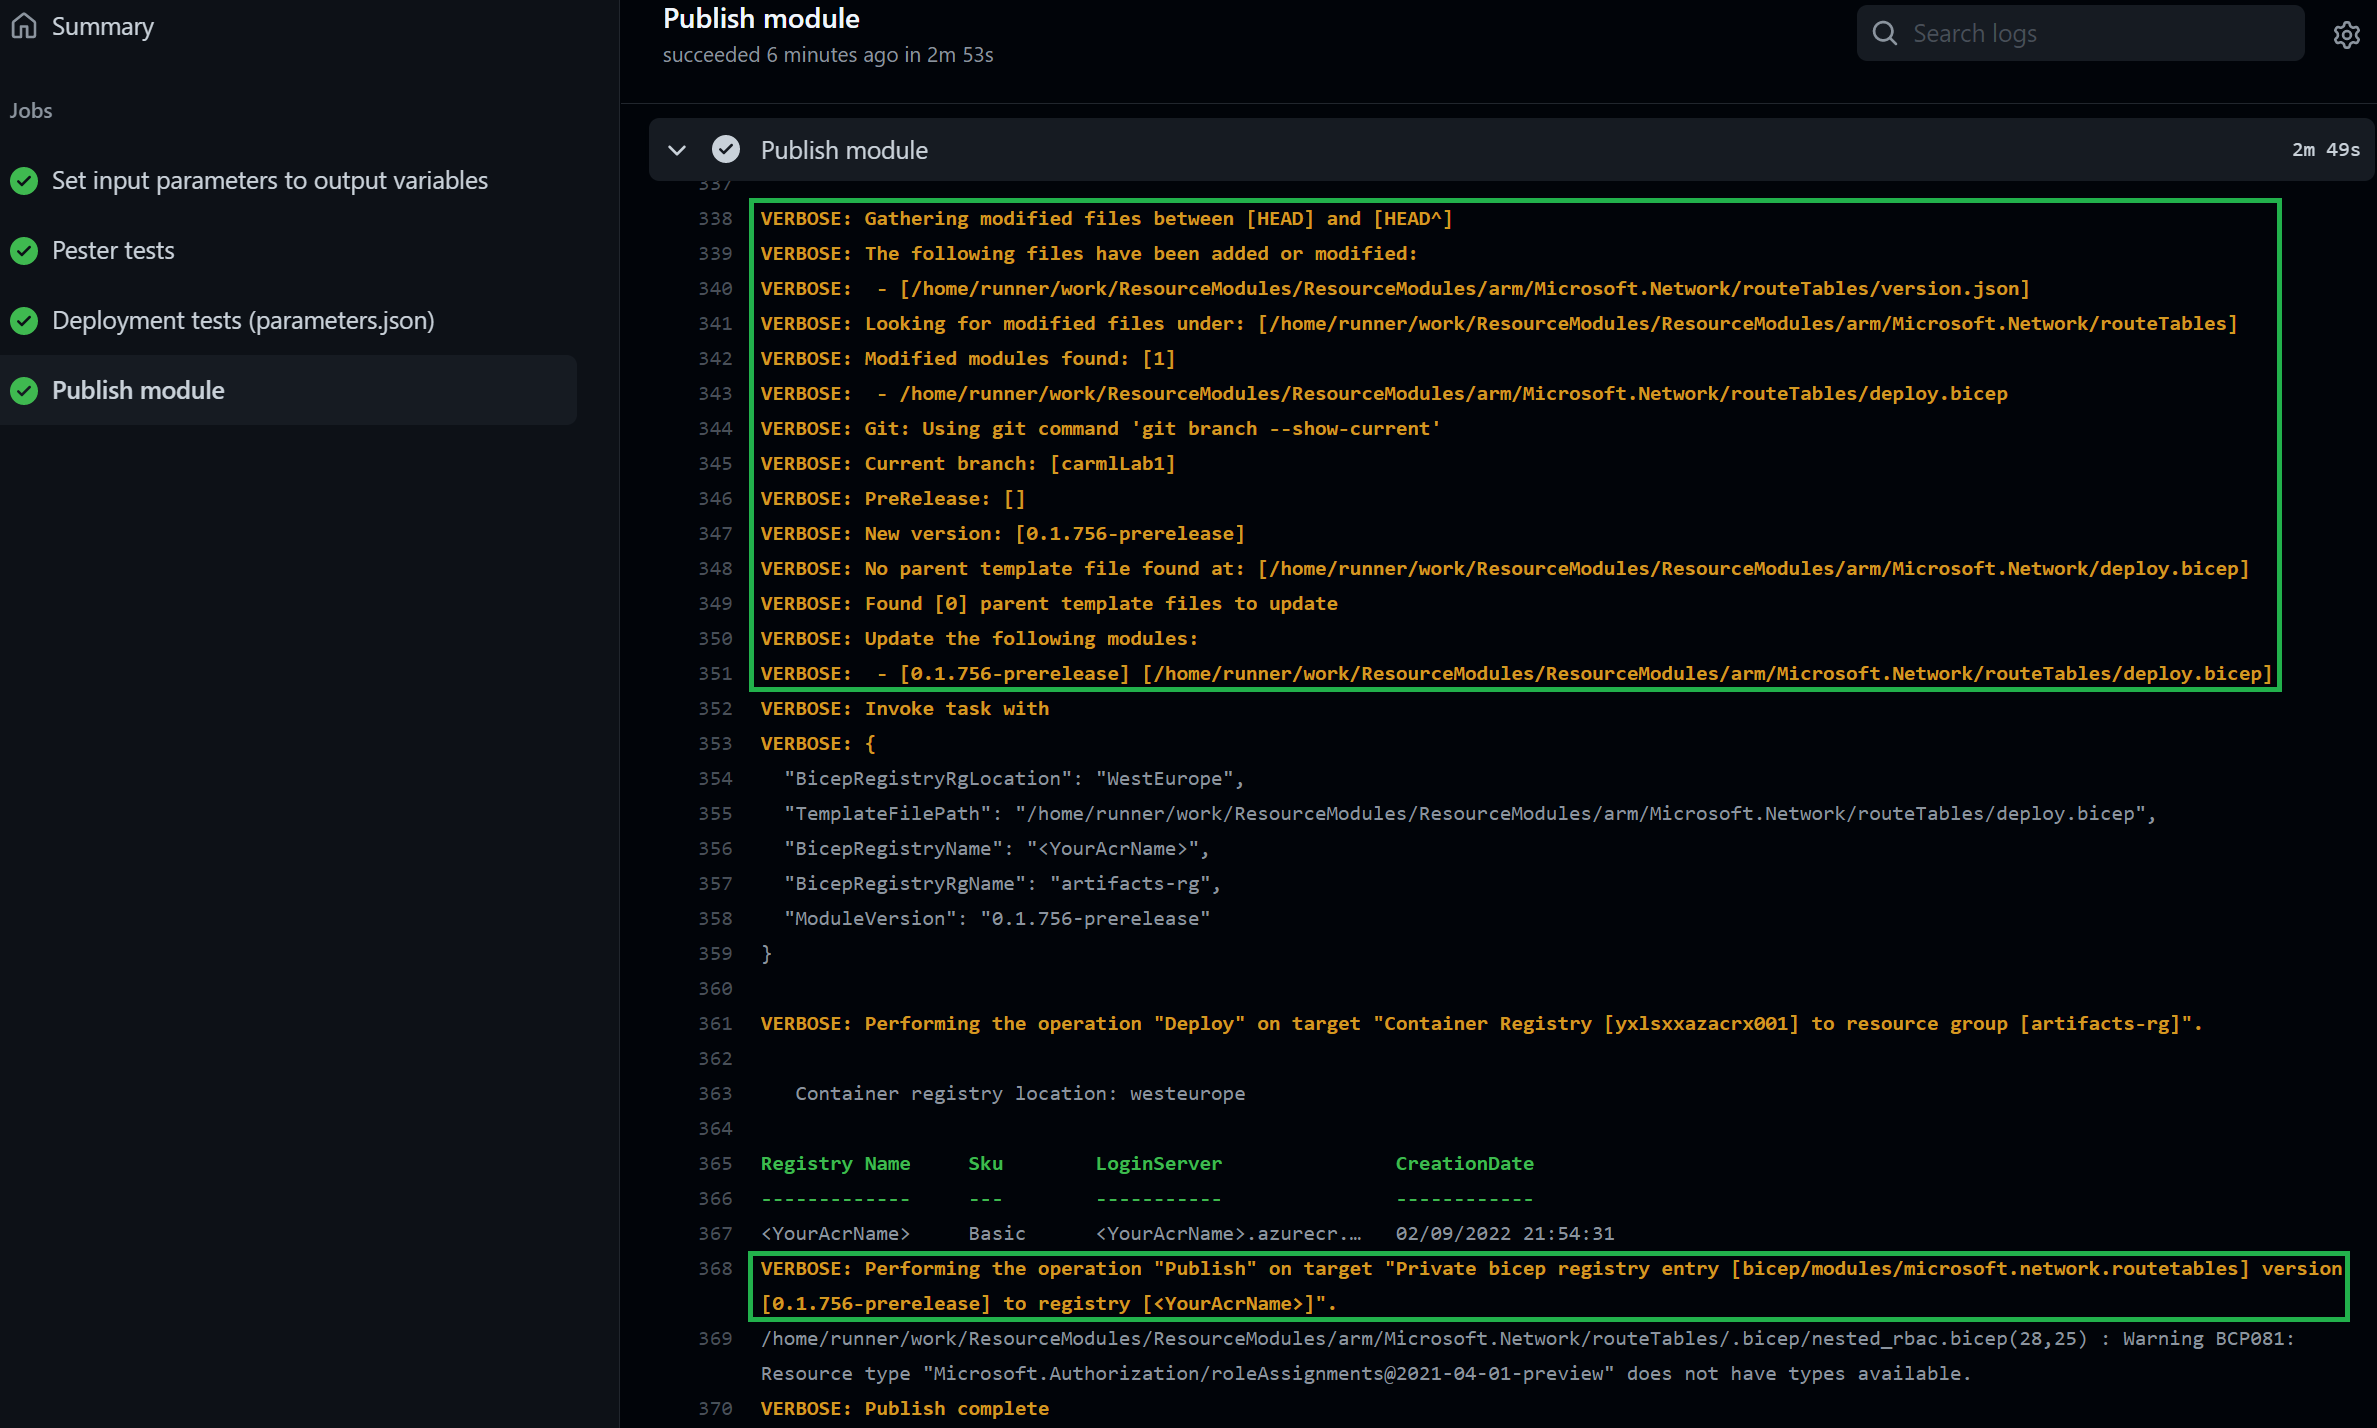
One of the ways you can verify whether the publishing worked is by going to the Azure portal and investigating the Bicep registry.
-
To get there, you first have to navigate to the resource group containing the container registry (by default
artifacts-rg). In it, search for the ACR that you specified in Lab 2.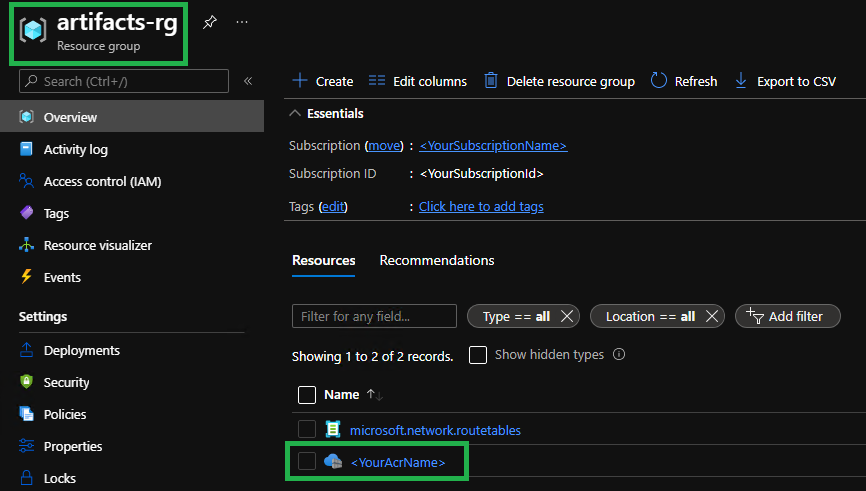
-
Next, find the
bicep/modules/microsoft.network.routetablesrepository.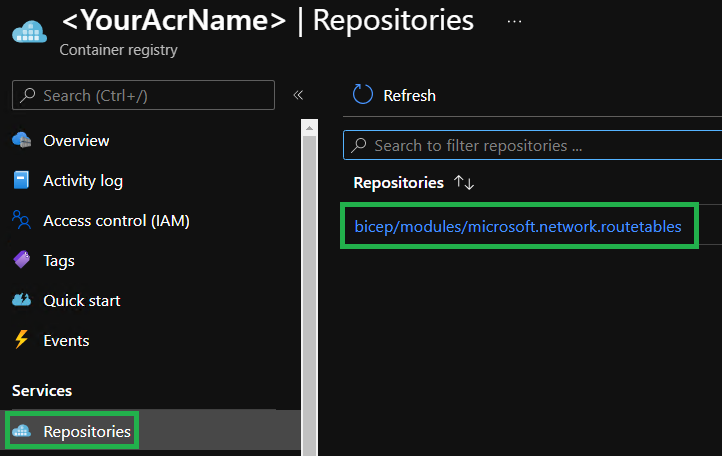
-
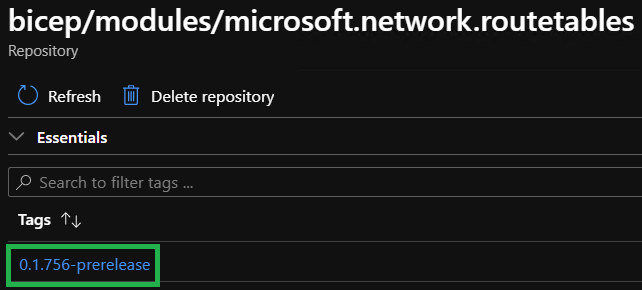
Check the repository for the published version.
Next, you will create an actual release, that is, publish modules without the prerelease flag. To do so, proceed with the following steps:
-
First, you need to create a pull request. As
carmlLabwas the last branch you worked on, GitHub should create a banner with a buttonCompare & Pull requestfor you, once you navigate to the<> Codetab (refresh the page if it does not show up automatically).
-
In the PR, first you have to make sure the correct target location is selected. By default the PR would be opened to the upstream CARML repository. To do so, just select your fork from the left dropdown. The UI will then automatically adjust the target to
main.
-
provide a meaningful description and if you're interested also check the file changes (should be around 6 files) to make sure everything seems in order. Once you're ready, go ahead an merge the pull request.

-
Check the workflow run that was triggered by the merge (push) to main

Note: The pipelines will roughly take 10 minutes to complete. However, you can already proceed with the next steps.
-
If you further drill into the route table pipeline run, open its
Publish modulelogs, and you can get a detailed view of its process to determine the new version to publish into the target location
For the next lab you will need a few more modules being published. To do so, proceed with the following steps:
-
Back in VSCode, change the branch to
mainand fetch the latest changes. You can achieve this in two ways:Alternative 1: Via VSCode's terminal
-
If Terminal is not in sight, you can alternatively open it by expanding the Terminal-dropdown on the top, and selecting New Terminal
-
Executing the following commands
    git checkout 'main'
    git pull
Alternative 2: Via VSCode's UI
-
Initiate the branch change by selecting the current branch on the bottom left of the VSCode window
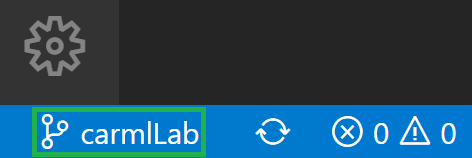
-
Next, a dropdown opens where you select the
mainbranch
-
Finally, you only have to trigger the
Sychronizesymbol on the bottom left next to the active branch
-
-
Create a new branch
prereqModules. Again you can do this in two ways:Alternative 1: Via VSCode's terminal
-
If a Terminal is not in sight, you can alternatively open it by expanding the
Terminal-dropdown on the top, and selectingNew Terminal -
Now, execute the following PowerShell commands:
git checkout -b 'prereqModules'
git push --set-upstream 'origin' 'prereqModules'
Alternative 2: Via VSCode's UI
-
Select the current branch on the bottom left of VSCode
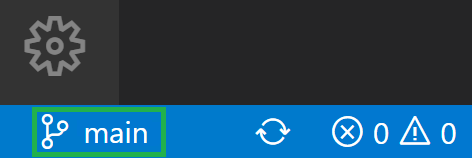
-
Select
+ Create new branchin the opening dropdown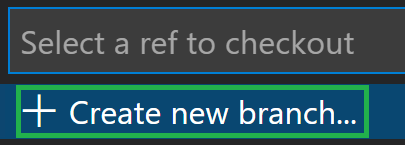
-
Enter the new branch name
prereqModules
-
Push the new branch to your GitHub fork by selecting
Publish Branchto the left in the 'Source Control' tab
-
-
Next, change the version number to
0.1for all of the following modules:Microsoft.Insights/componentsMicrosoft.KeyVault/vaultsMicrosoft.MachineLearningServices/workspacesMicrosoft.OperationalInsights/workspacesMicrosoft.Resources/resourceGroupsMicrosoft.Storage/storageAccounts
Note: For our purposes it is sufficient to only change the
version.jsonfile for the top-level resource type. In other words, you can ignore the child-modules.Note: Make sure you save the changes on each file
-
Next, push the changes the same way you did before (either via the UI, or PowerShell). VSCode should display you 6 changed files.
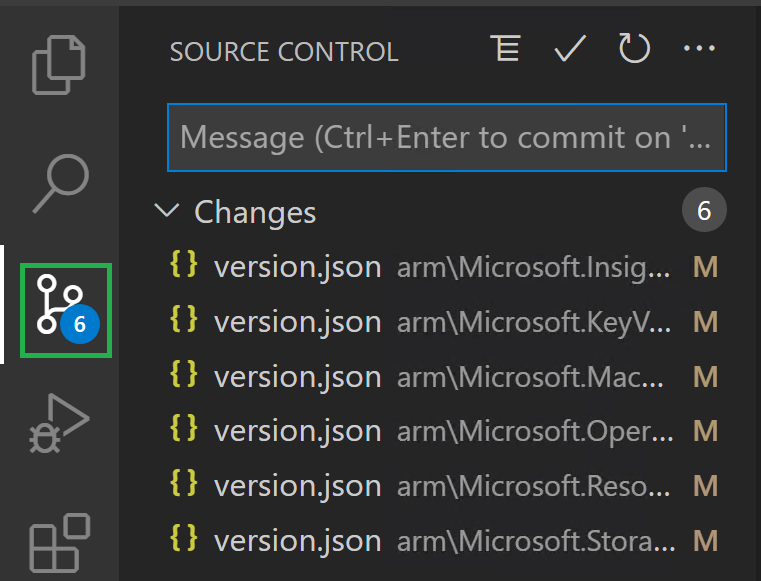
-
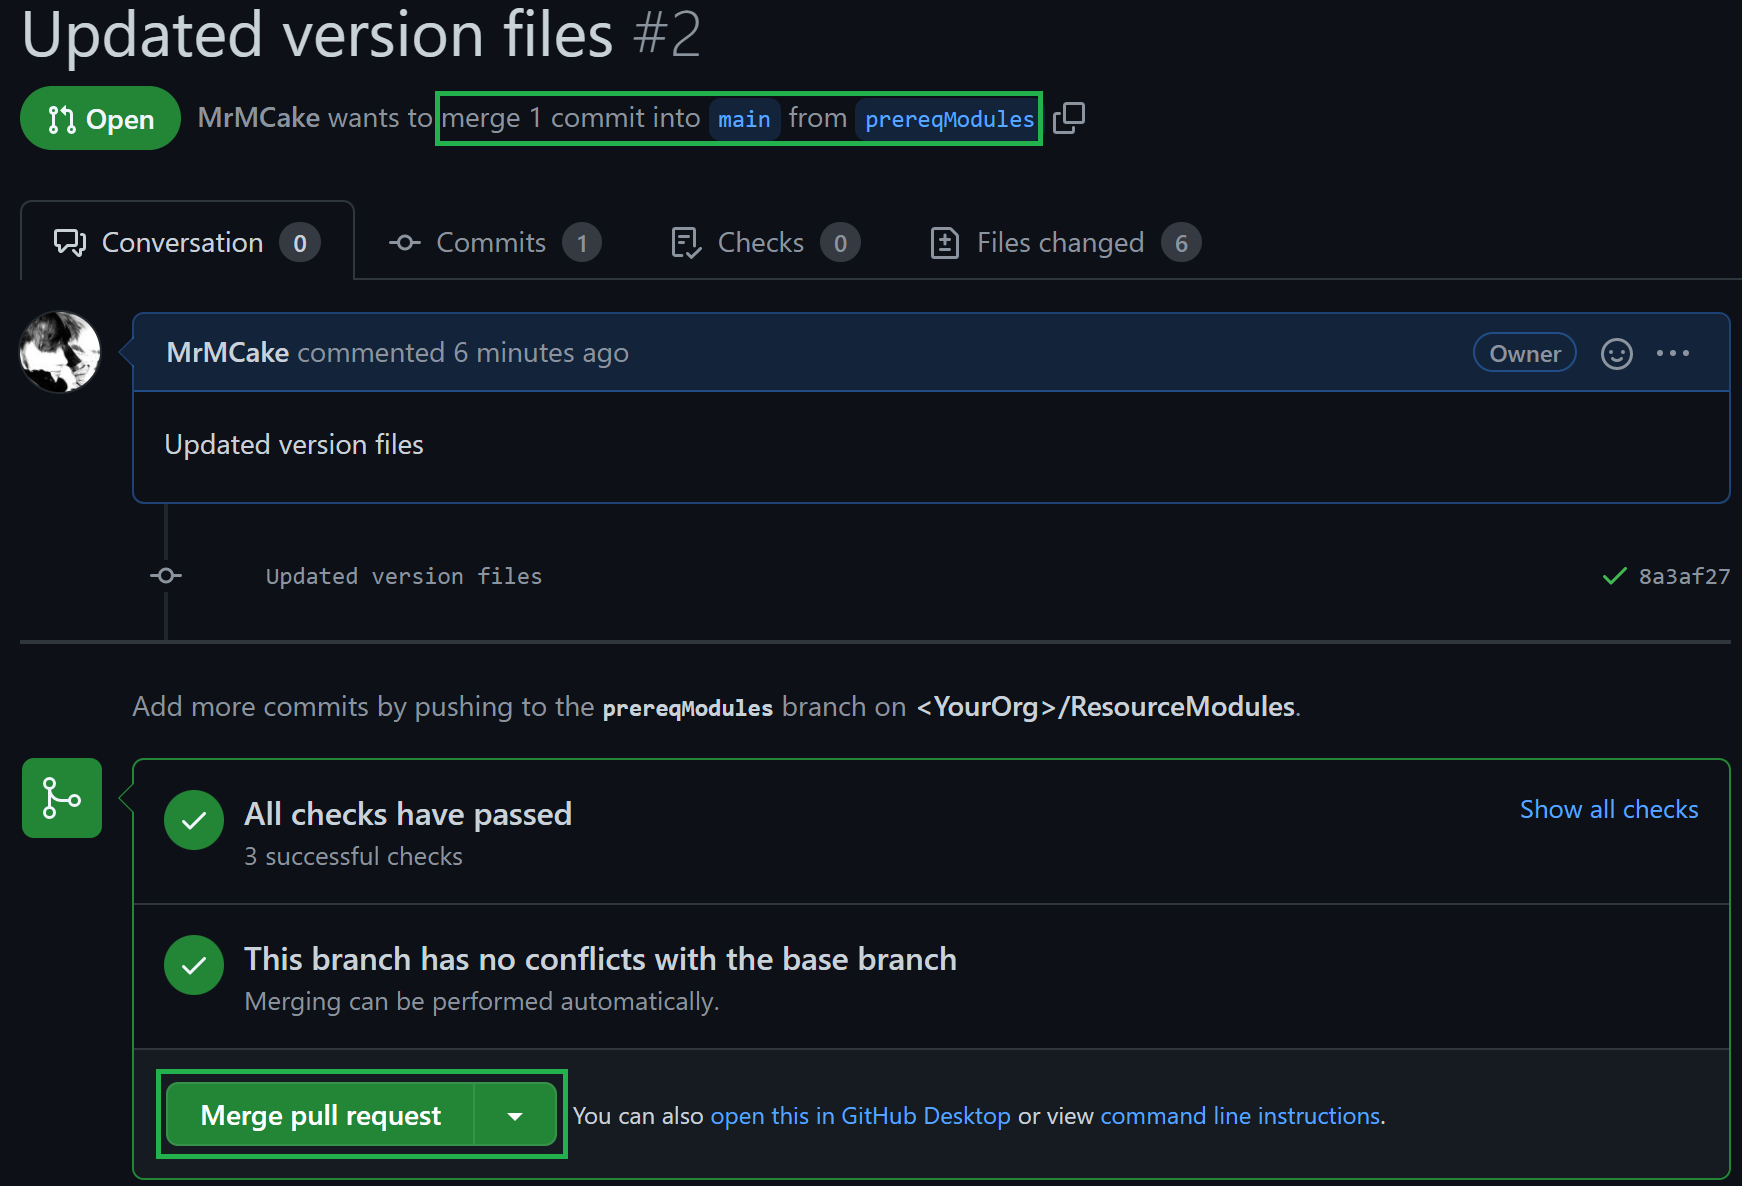
And as before, create and merge a pull request from the created branch
prereqModulesto your main branchNote: Don't forget to select the correct target location (your fork)
-
Once the PR is merged, navigate to the
Actionstab. You should notice 6 pipelines automatically running.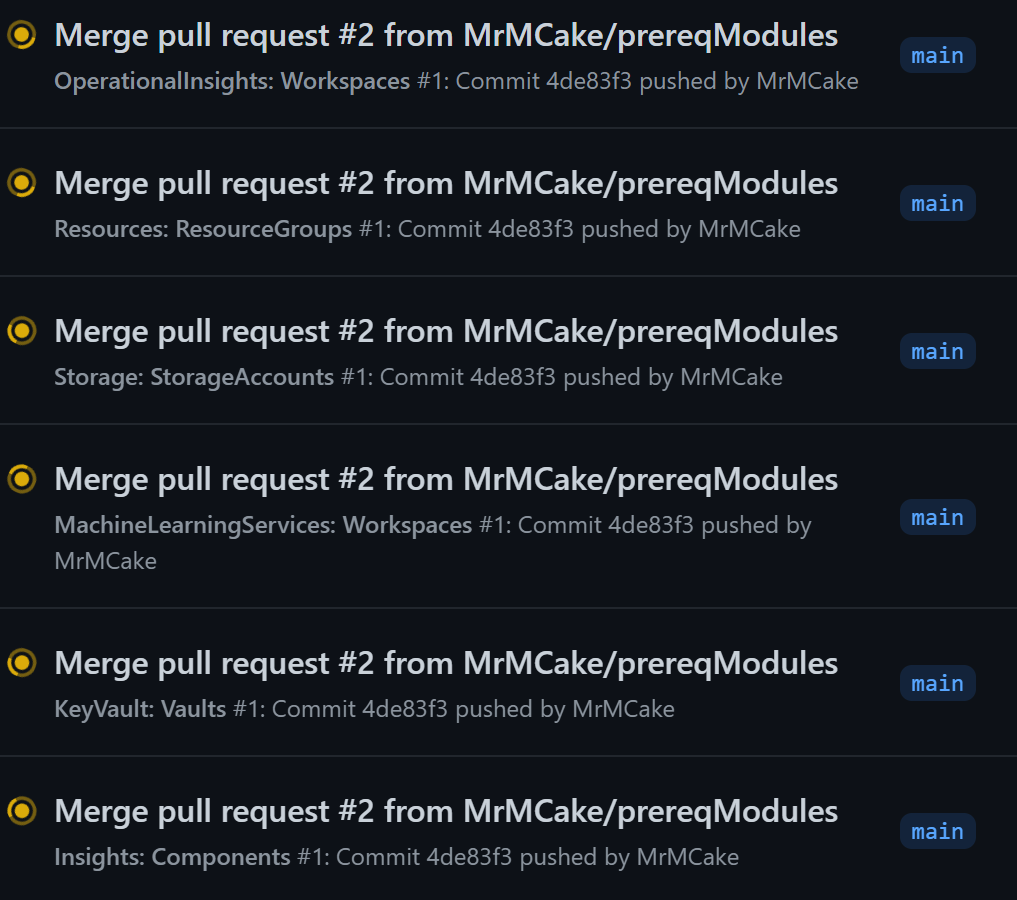
Note: The pipelines will roughly take 30 minutes to complete. However, you can already proceed with the next steps.
- When a change in
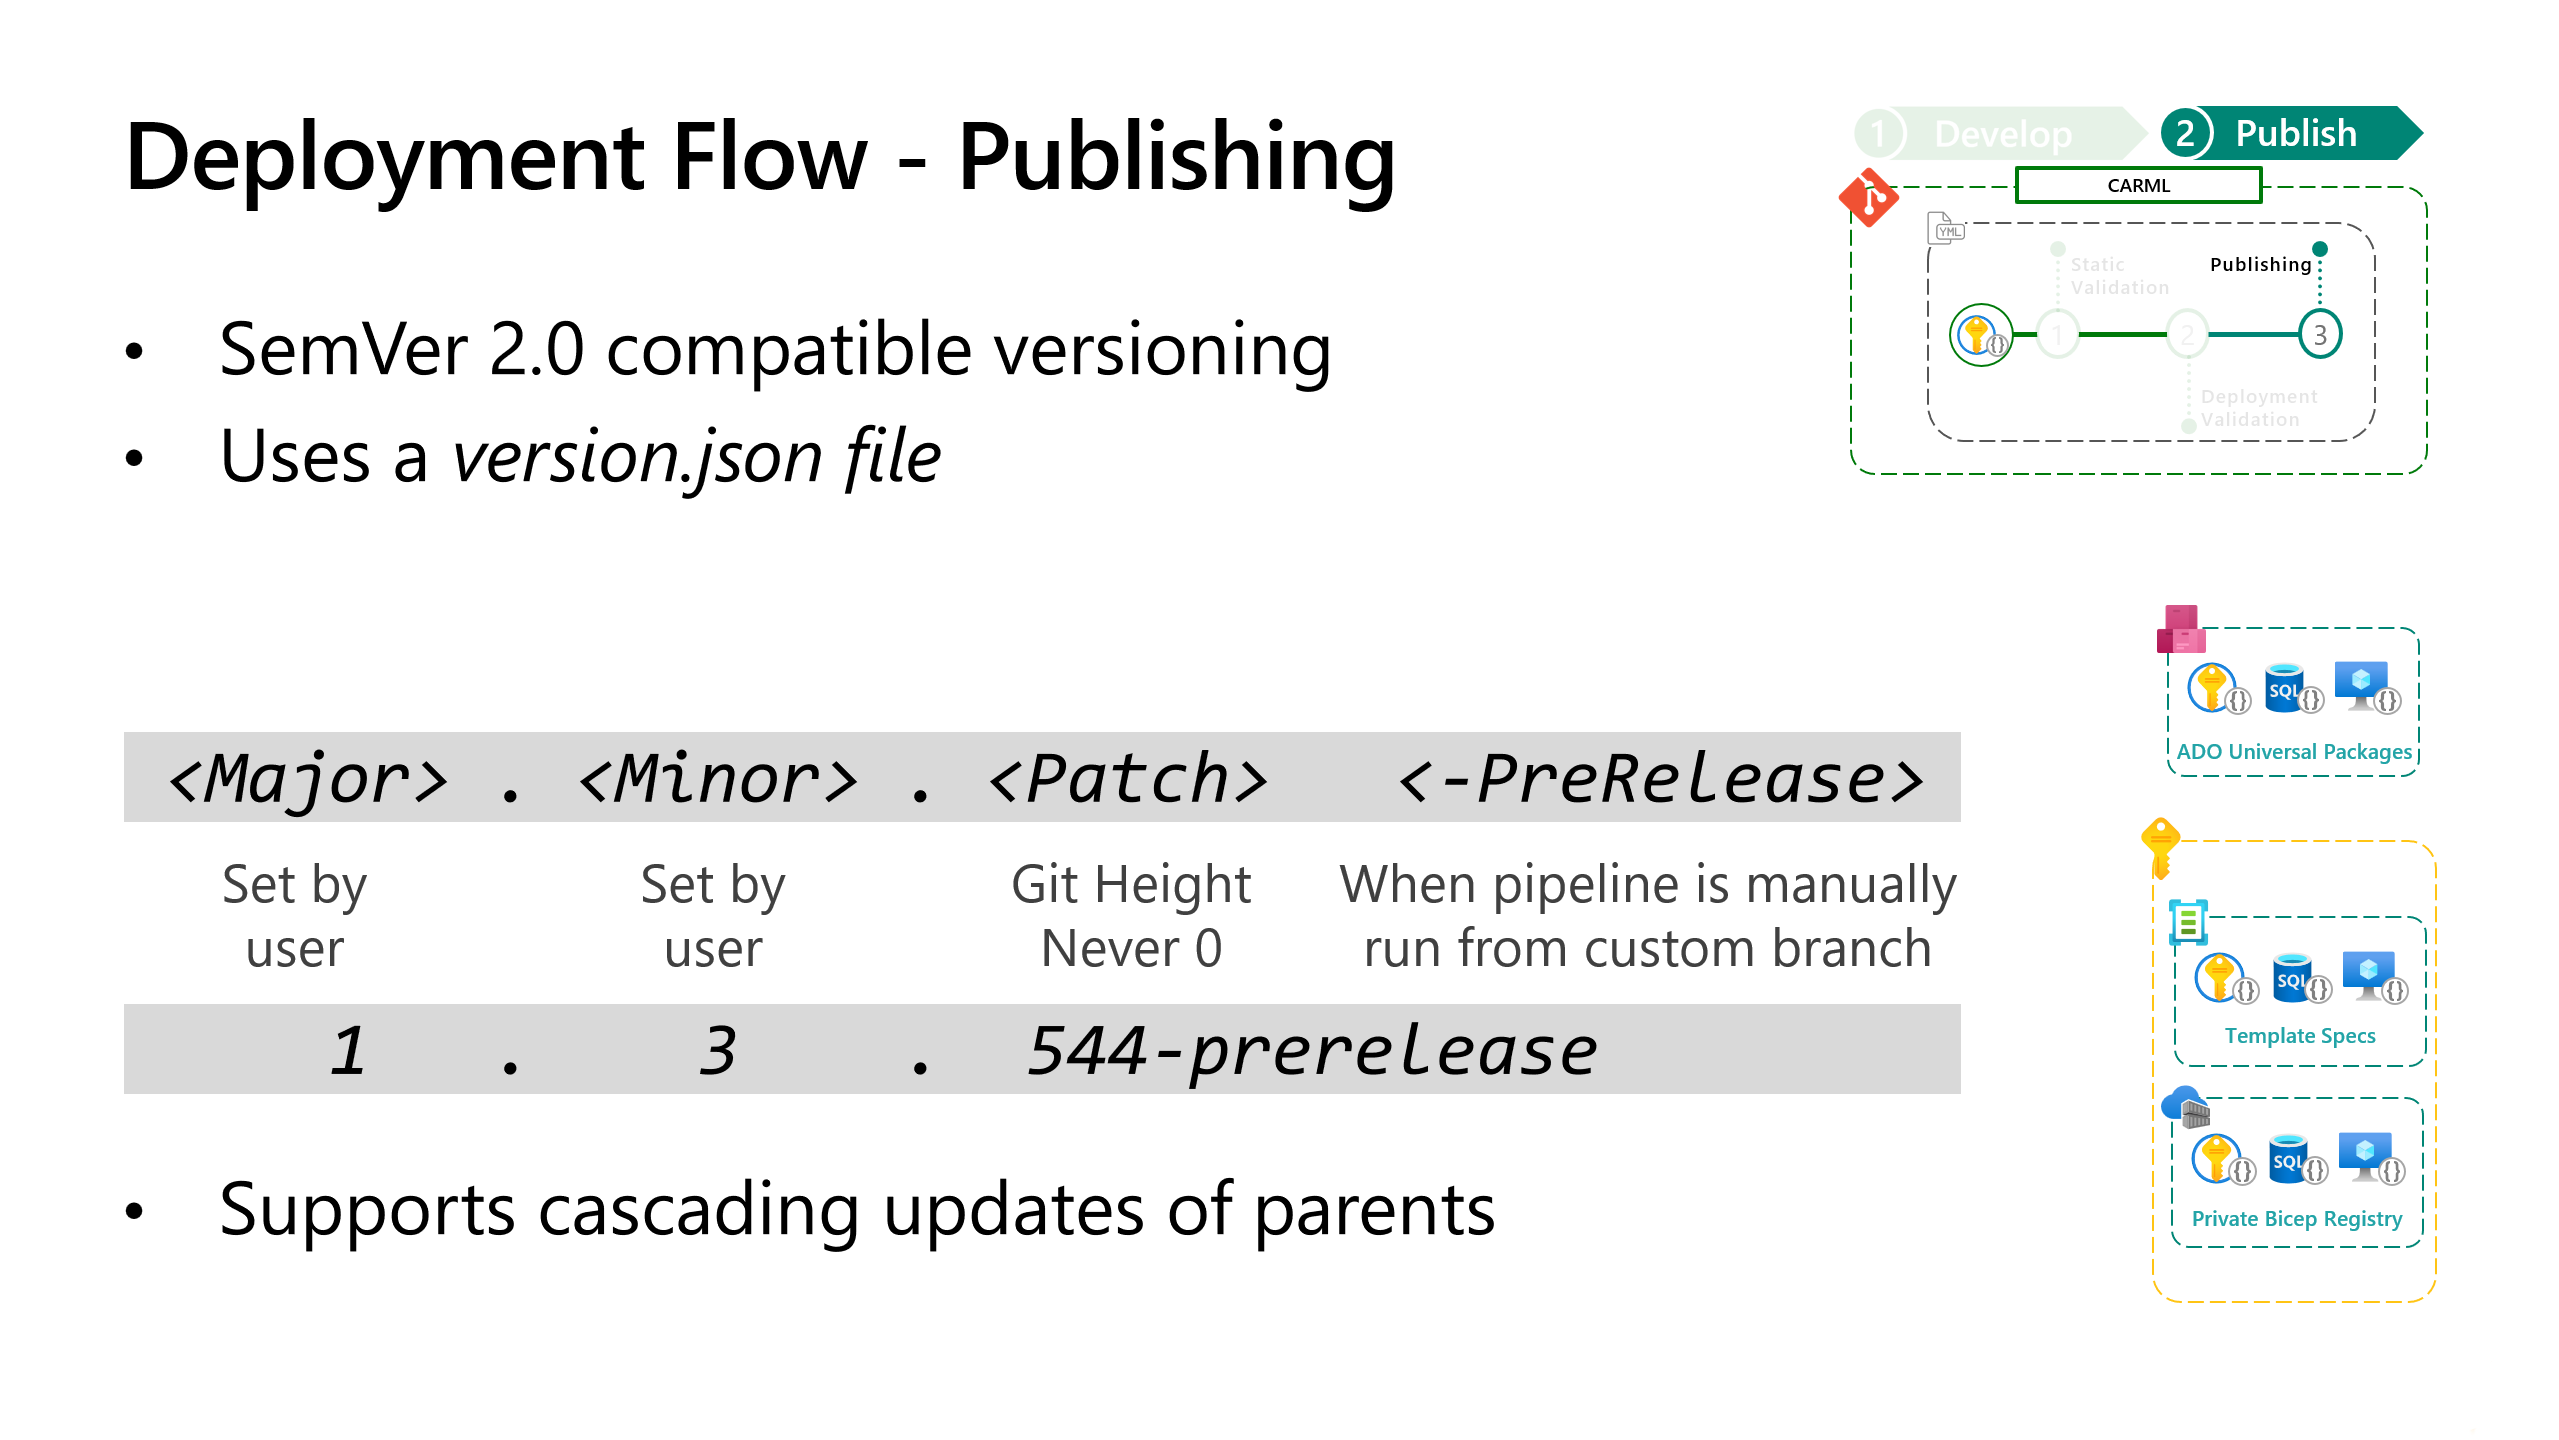
mainoccurs on any of the module files (as configured in theon:ortrigger:sections of the workflow/pipeline file), the workflow runs. - The publishing stage of the workflow will:
- Look for changed files in the module and child modules folders.
- For a detected change:
- Find the nearest template file (
deploy.*in same folder as the changed file or parent folder). - Find the corresponding
version.jsonfile and get themajorandminorversion numbers. Thepatchnumber is calculated from 'git height' (number of commits from base commit). If the workflow/pipeline is run on a nonmain/masterbranch, '-prerelease' is added to the version number - Finds all parent module files, and get their version data using the same logic as mentioned before.
- Find the nearest template file (
- Publish each changed child module and parents using the calculated version numbers
If ready, proceed to the next lab: Lab 7 - Contribution
This wiki is being actively developed